
Iron Man Mark III Helmet
This was a project I have wanted to do since the first Iron Man film came out in theaters in 2008. I had time to start a new project and Iron Man was an easy pick for me! Many steps were involved in creating this helmet and I wanted to showcase them down below. This was my first helmet mold/cast and I learned a lot from the process and I am still finding new ways to improve the process to this day.
I hope you enjoy countless months in a few photos of the process!
First Stage - Pepakura
This is how many of my projects start off. I build a model using 110 lb card stock and glue tabs using a hot glue gun. This model was made by "JTM 1997". I will provide a link to the download at the bottom of this page.
Resin + bondo
After covering the helmet with fiberglass resin, and filling the inside of the helmet with a mixture of Bondo and resin, I had a solid base to start from. I started the exterior work with some Bondo.
back of Helmet
Bondo work on the back of the helmet.
Face Plate Progress
Bondo layers between primer. Still more to go!
Mind the gap
Having to do body work on the helmet to fill the gaps, I used syrene wrap to cover the face plate and apply Bondo in the gap area.
Bondo time
To make sure I got an even coat, I Bondo'd the entire side along with the gap.
Proper fit
More Bondo applied, but brings out a better fit between the two pieces.
Spot Putty
The deep red putty is a product similar to Bondo body filler but it comes in a tube and air dries. This is a finer filler for small pin hole sized areas.
More Sanding progress
All of the layers between resin, Bondo and primers!
Face Plate Sanded
Face plate sanded while the rest of the helmet goes un-sanded for now.
Back plates
Different layers of materials used for the back. This part was difficult to sculpt because of the grooves.
Opening face plate
A goal of mine was to make this a usable prop that could be worn. Instead of having it a static piece with no functioning parts, I could modify this helmet with servos, hinges or anything else.
Side view
A little bit of work was done on the side to minimize the amount of Bondo work.
Face Plate Progress
Black primer applied to the face plate in between sanding sessions.
Face Plate & Helmet
Primered face plate with the rest of the helmet test fitted.
More gap
More Bondo applied to the problem areas!
Sides Sanded
Face plate removed and the sides of the helmet were sanded down.
More layers
Helmet primered and sanded down. This allows me to see trouble areas that need work.
More Spot Putty
Spot filler applied to more areas of the helmet. When sanded, this provides a smoother finish.
Spot Putty in Ear area
I applied spot putty to the ear crevices to be able to smooth it out nicely.
Sanding
Spot filler and sanding progress. I believe I used 2000 grit sand paper for this step.
Black Primer
After I was happy with the finish of the helmet, I coated it with a black primer and headed to molding!
Molding the helmet
After this, I molded the helmet using Rebound 25 by Smooth Cast. Rebound 25 is a silicone rubber used for 3D objects because it can be brushed onto non flat surfaces and has a very low viscosity. After coating the helmet in multiple layers, I separated the mold into 2 halves by making a mother shell out of fiberglass resin to keep the silicone in place.
Molding the helmet allowed me to cast multiple copies in a very short amount of time. The photo below shows that the copies come out perfectly and they can be finished in multiple different ways.
First Battle Damaged Helmet
This was my first battle damaged helmet. The helmet was painted at an auto body shop and had a really nice finish.
Fixing helmets
Some of the castings came out with problems so instead of making more battle damaged, why not fix them.
Sanding progress
Primer applied on the sanded Bondo. Still a lot of holes but nothing a little spot putty can't fix.
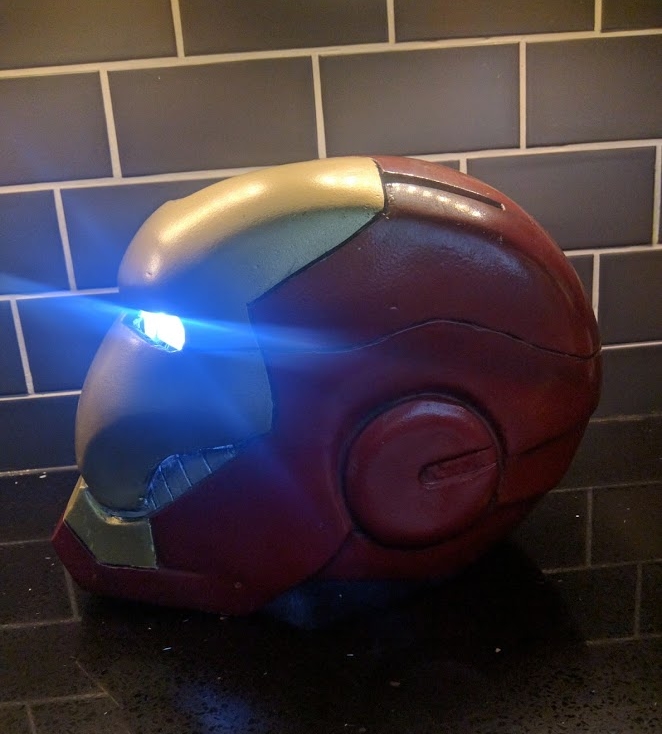
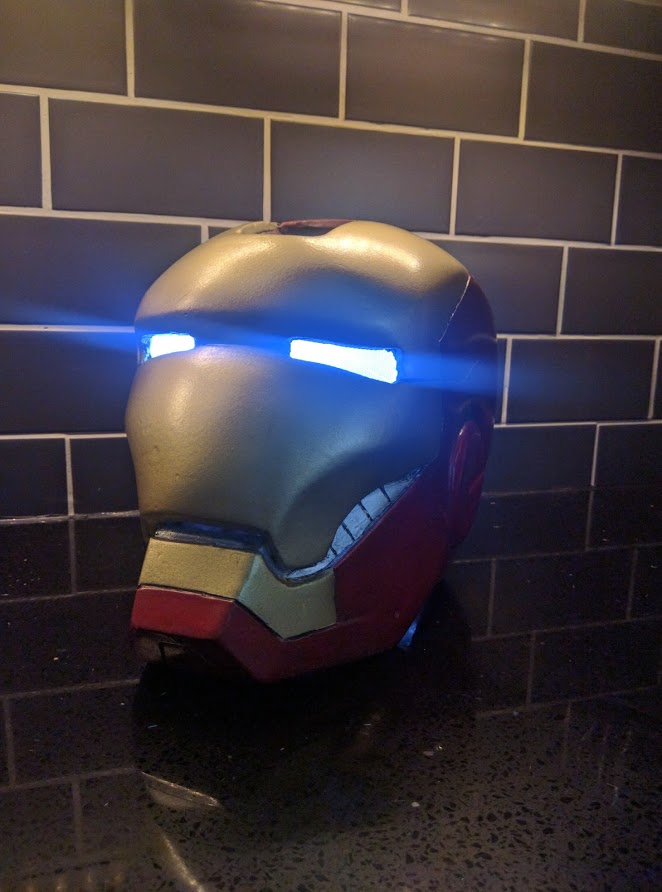
let there be light
LED light panels installed into the eyes! These have a cool hexagon pattern laser etched into them.
Primer- Almost done!
A few minor spots remain.
Aluminum Man
The entire helmet was painted with a metallic aluminum coat. This will act as a base coat.
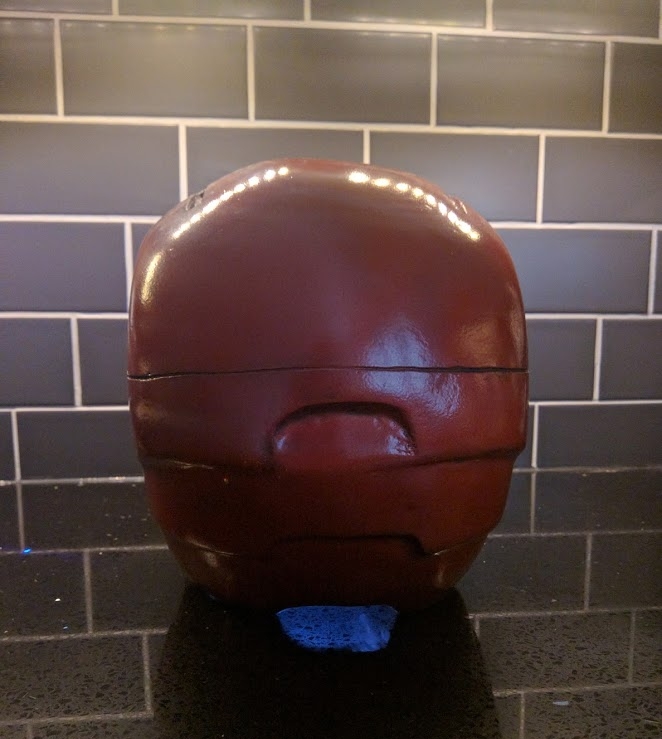
Red coat
A red clear lacquer is applied on top of the aluminum to bring out a metallic red coat.
Battle Damaged Face Plate
A mini project I worked on in the mean time. This would later be applied to one of my better looking battle damaged helmets.
More battle damage
These were really popular with fans so I made more! These are a lot of fun to work on because they can be customized in any way.
Bondo time!
After cutting the face plate to get a better fit, I used Bondo for filling in the gaps.
Sanding Progress
Another angle of the sanding progress. Battle damaged helmet in the back ground.
Shiny Primer
Face plate sanded and painted smooth. Still need some work around the eyes.
Last Steps
Helmet is treated to a final round of spot putty in all of the remaining not so perfect areas. This will finish up the helmet with a sanding of 2000 grit sandpaper and
Gold gold baby
Using the aluminum as a base coat, the gold lacquer had a better shine look to it when it dried.
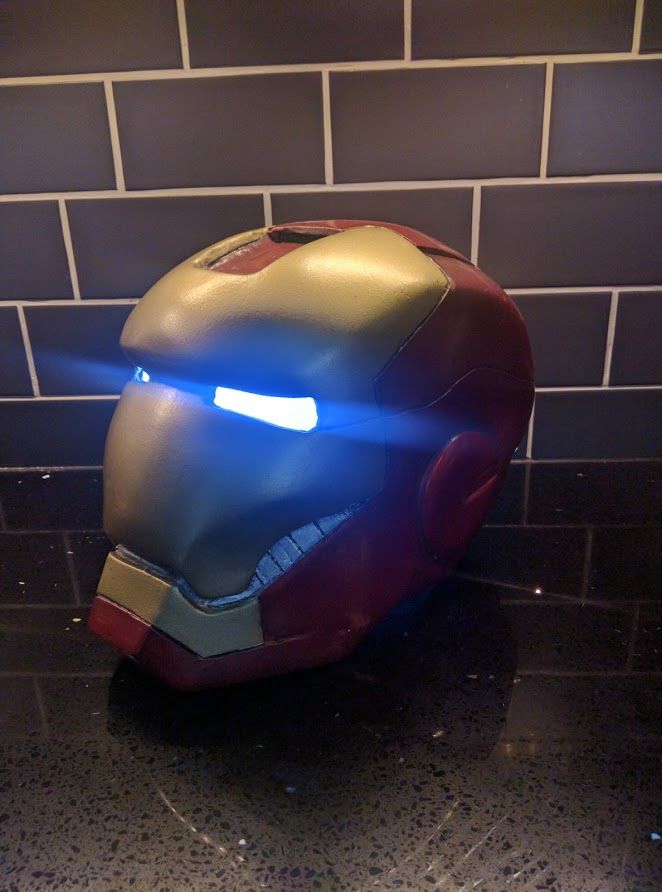
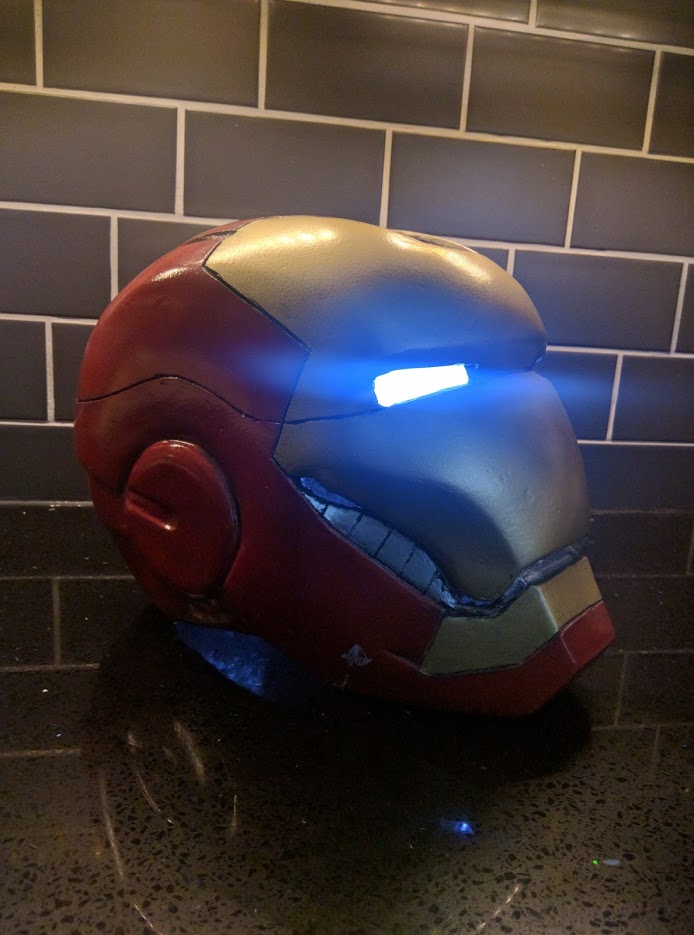
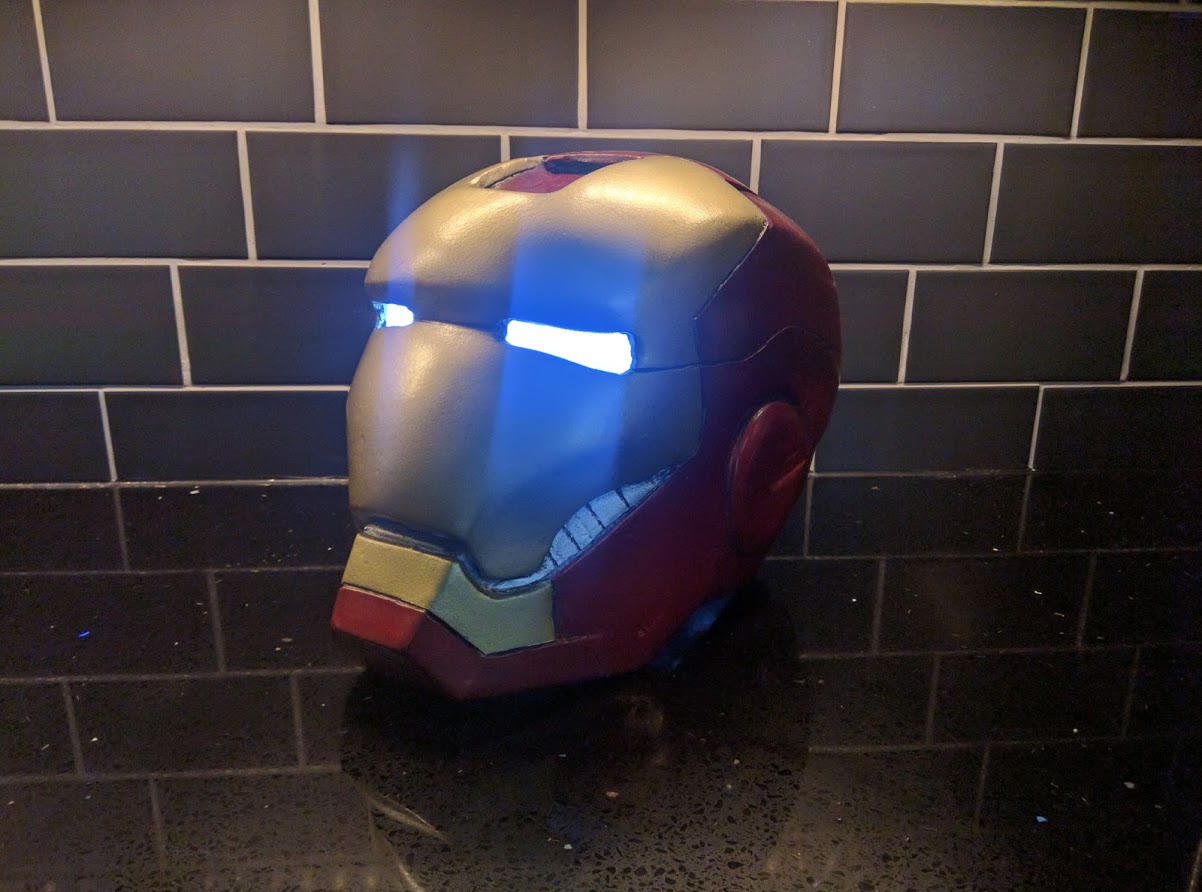
Factory fresh
After all of the coats of paint have dried and painters tape removed, the only thing left to do was to install lights and clear coat the helmet.
What if Captain America Won
I had a few castings left and after watching Civil War, I wondered what would happen if Iron Man died, so I got a skull, scuffed it up and installed it to the inside.
Conclusion
This was a very fun and time intensive project that I enjoyed working on. After making the mold, I have been able to come up with different variants of the helmet with little time.