
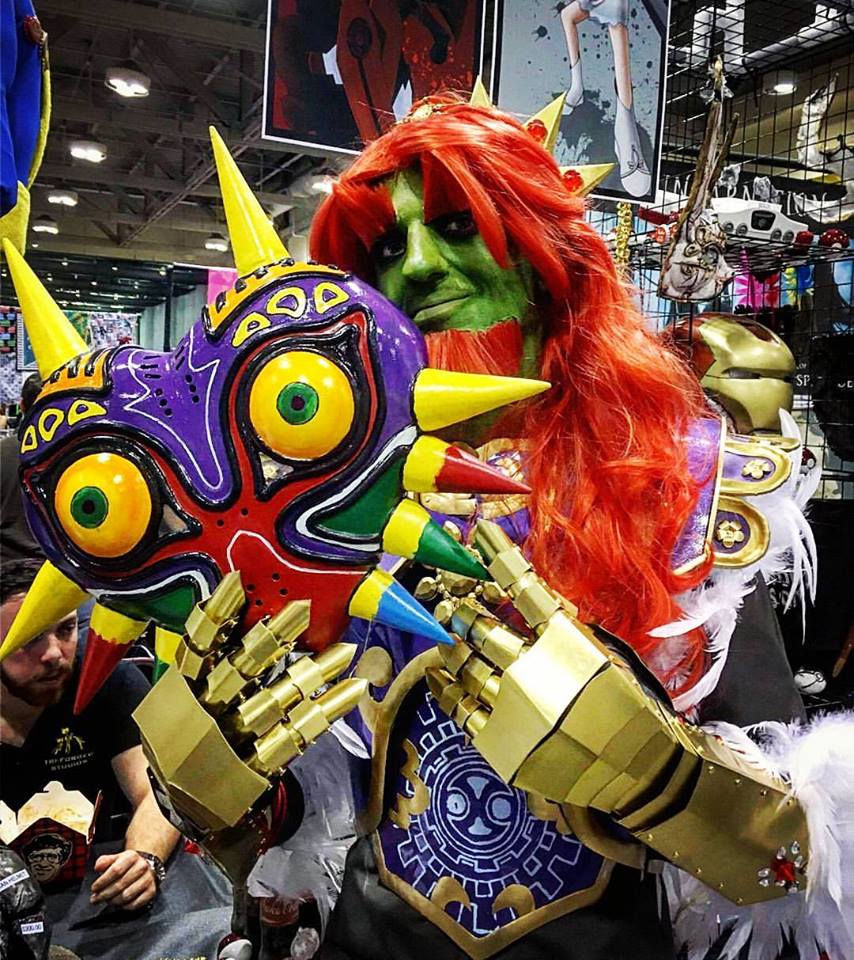
Majora's Mask
Bondo
Sand First + Sand later
Scaling
Eye Sizing
Finer sanding
More Bondo!
Interior shaping
Off with the horns!
More Bondo
templates Drawn on
Apoxie Sculpt Applied
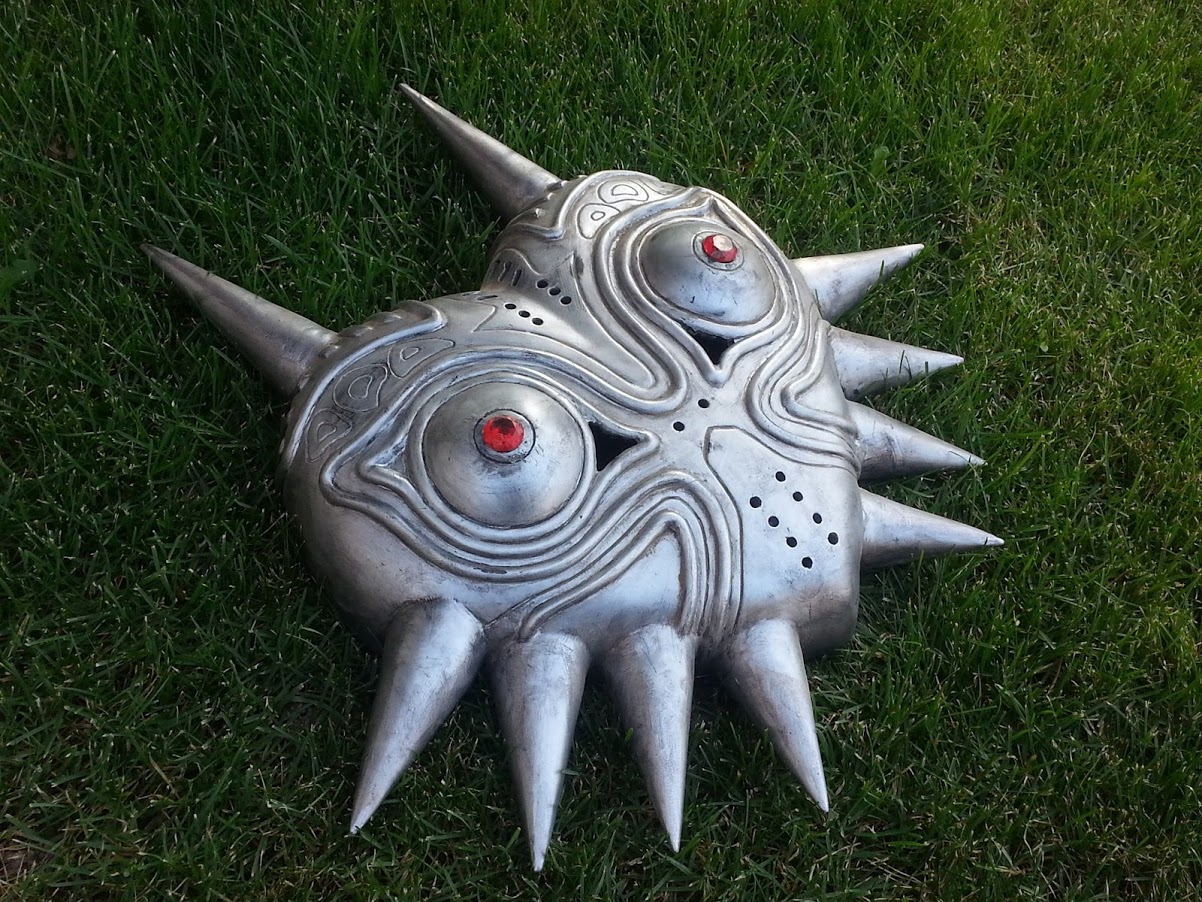
Primer Applied
Eyes carved
Final major sanding
Top side
molding starts!
Print Layer
Silicone applied
Fiberglass
More Sanding!
Did you say Bondo?
Sanding & Sanding
Spot Putty
Behind the mask
Rondo Layer
Majora's Heart
Horns have holes
Apoxie Sculpt
More spot Putty!
More Spot putty!
Final spot putty layer
Primer coat
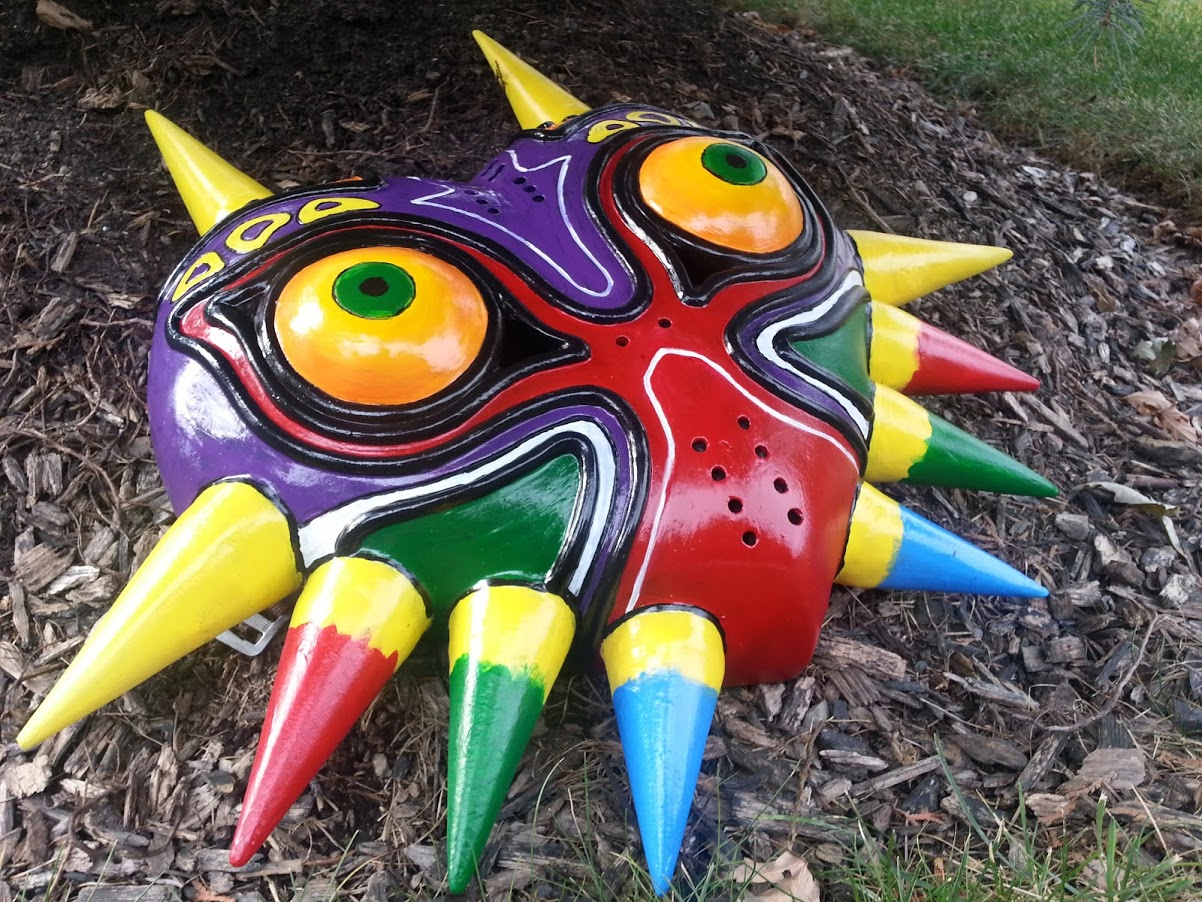
Final gloss coat
Clay seams
Thicker layer applied
Mother Shell Box Built