
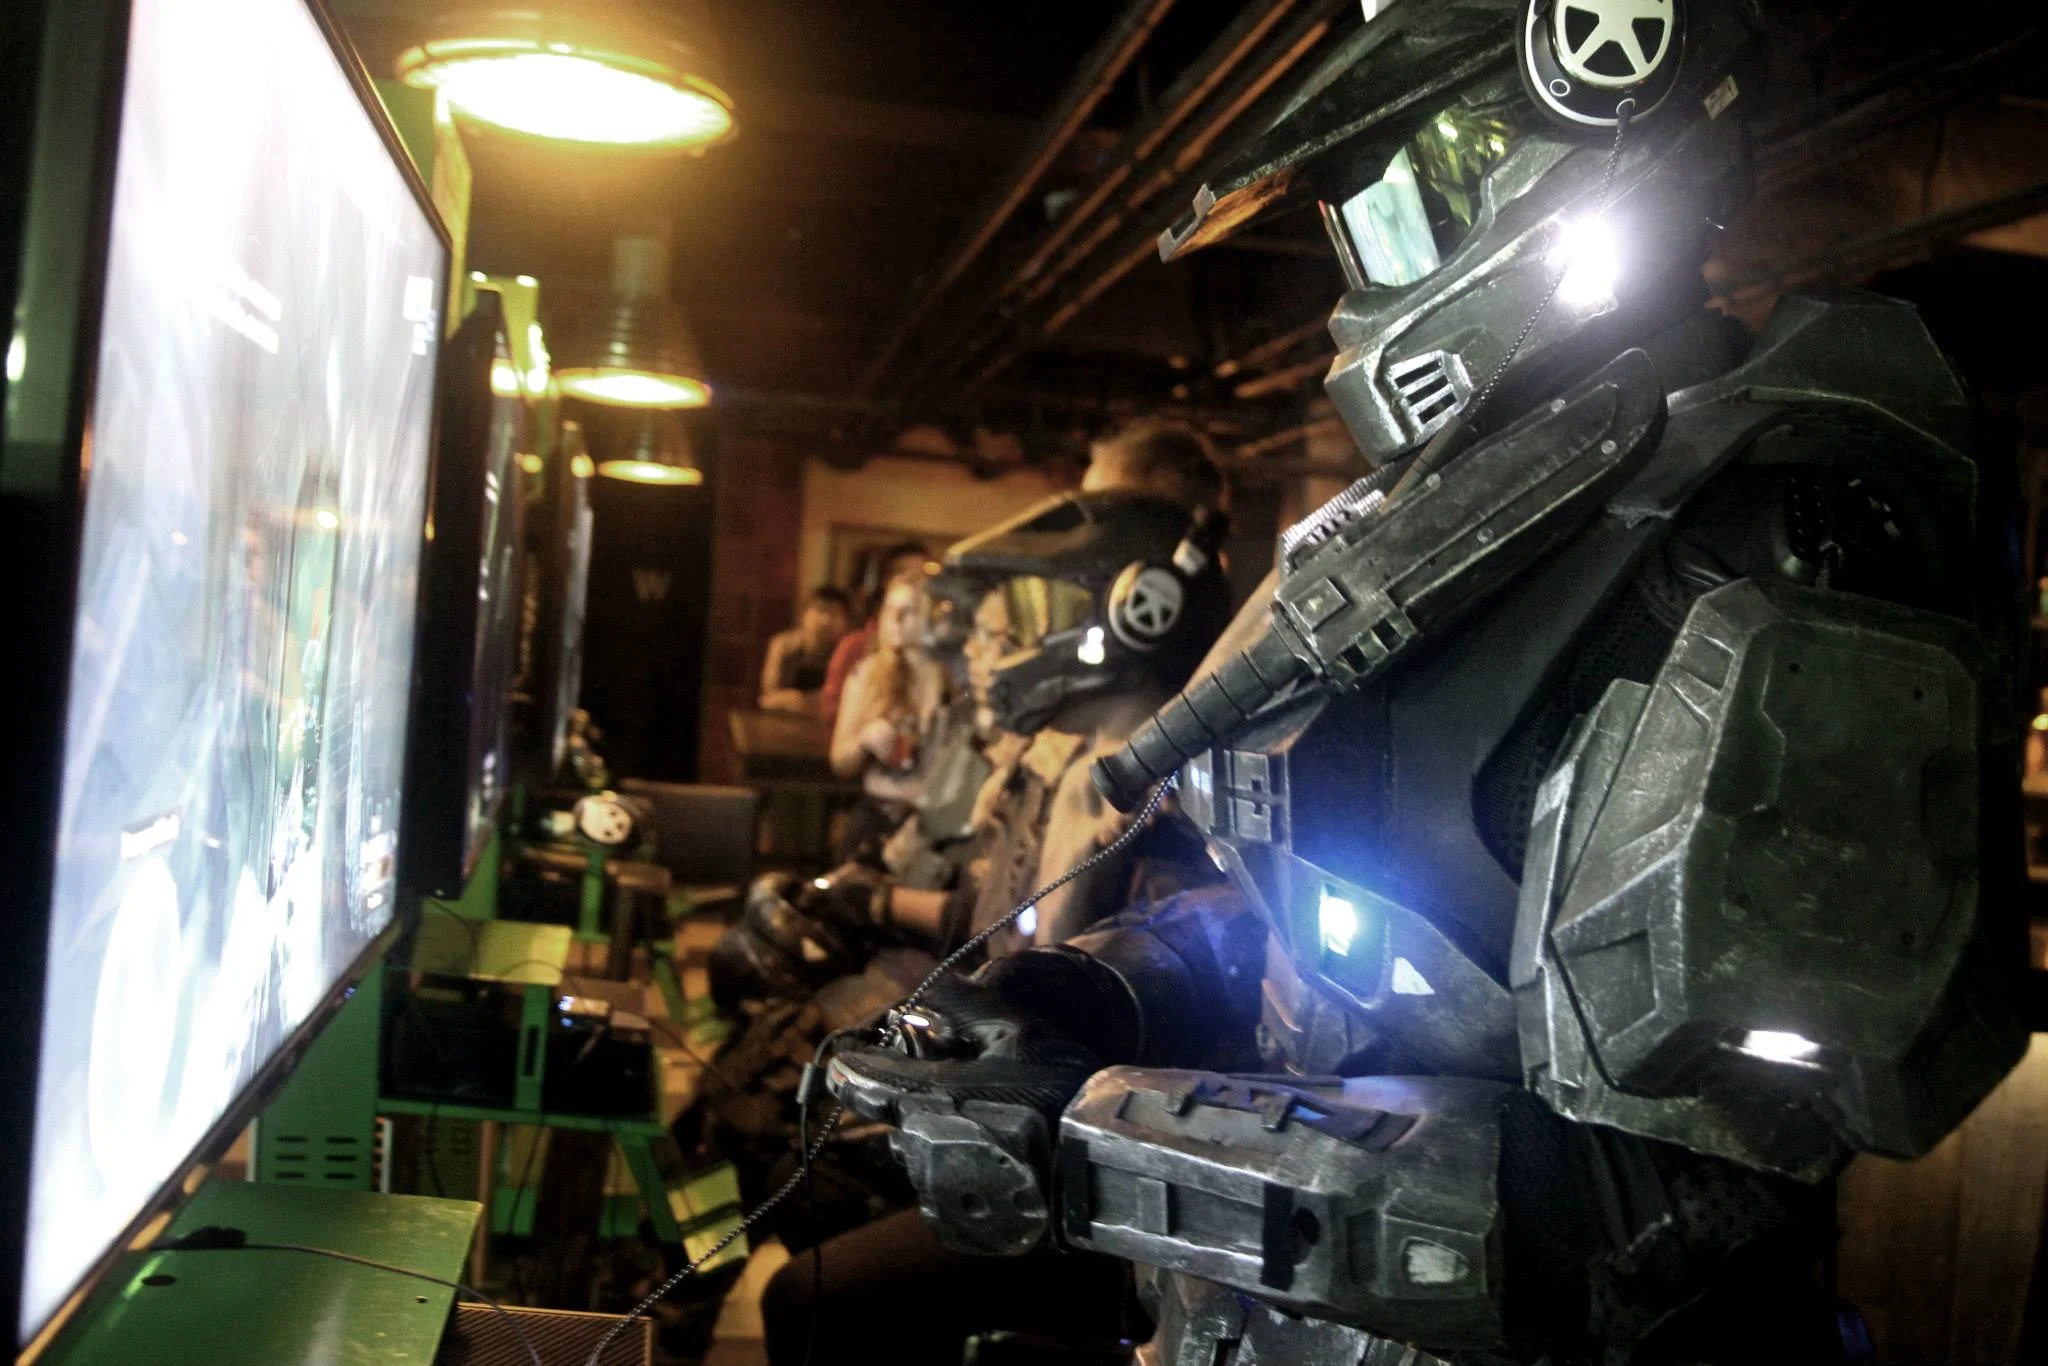
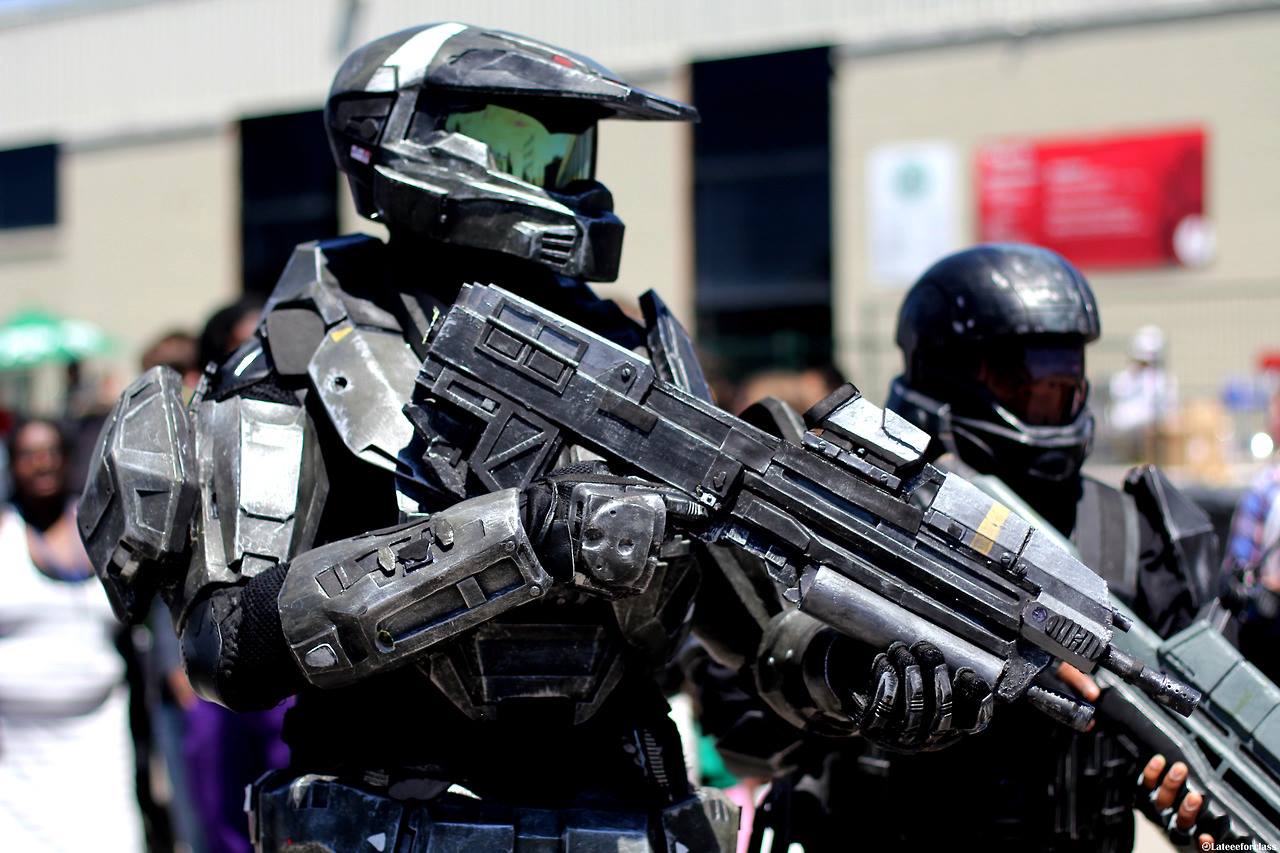
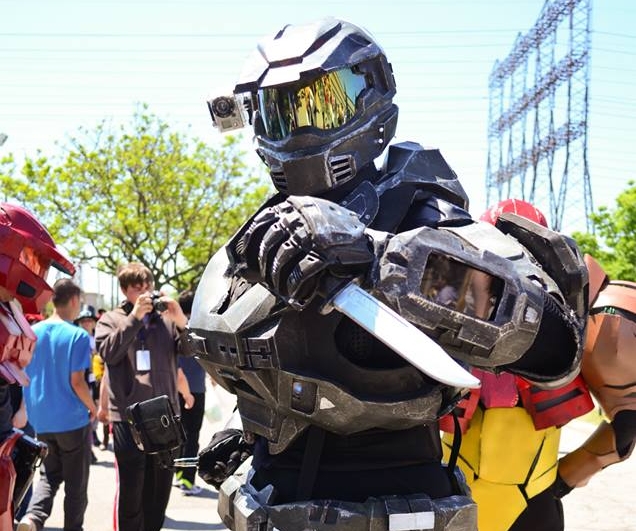
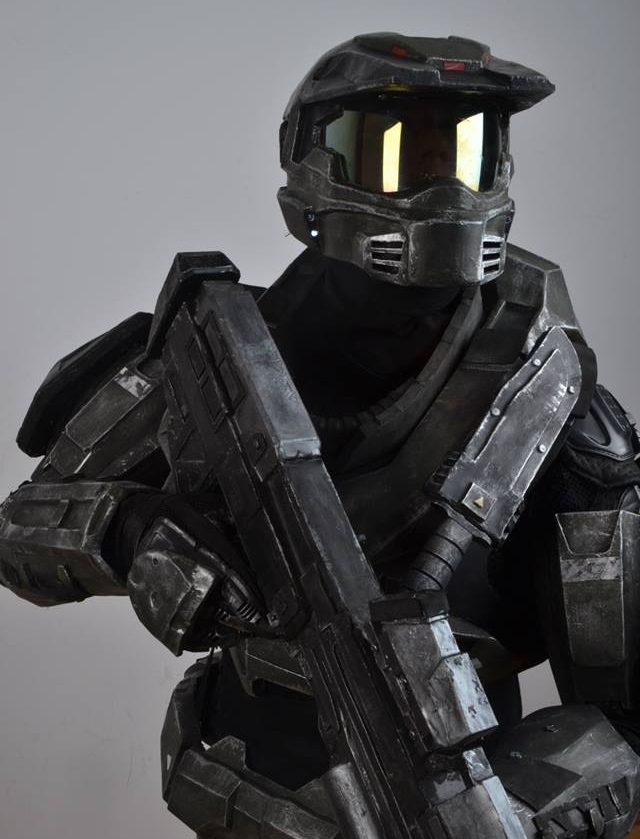
Halo Reach Master Chief Costume


There is an incredible amount of information to summarize for a costume that took me almost a full year to make in one blog post. I want to just highlight the process by showing all of the different steps done to create this costume.
My full rundown is posted in my thread on the 405th.com, which is a database and community that kicked started my fascination with costume making.
Pepakura Stage
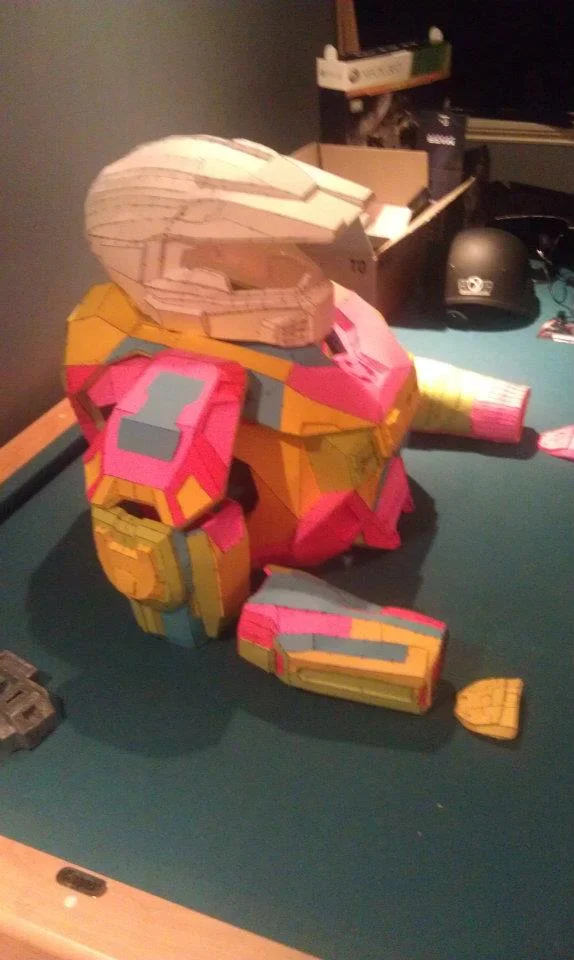
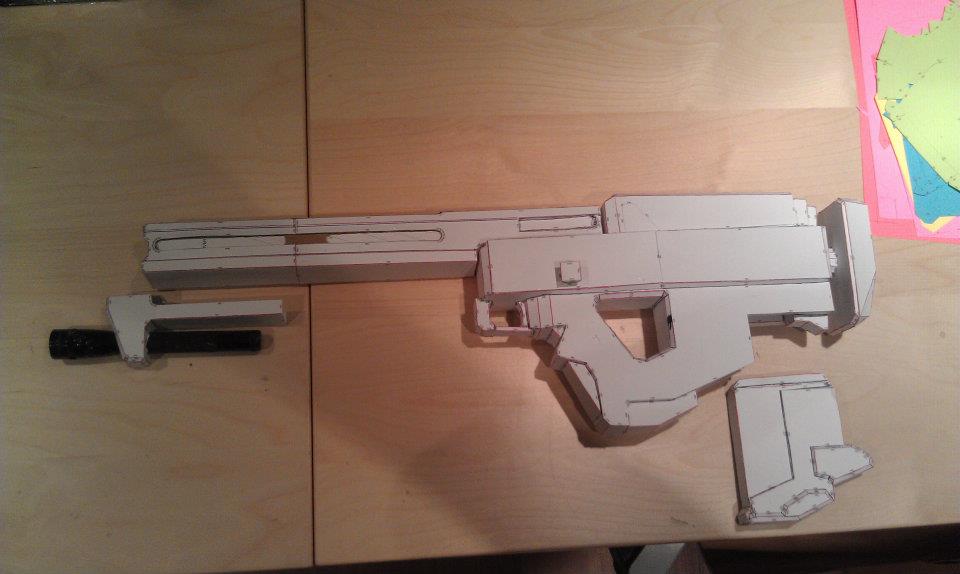
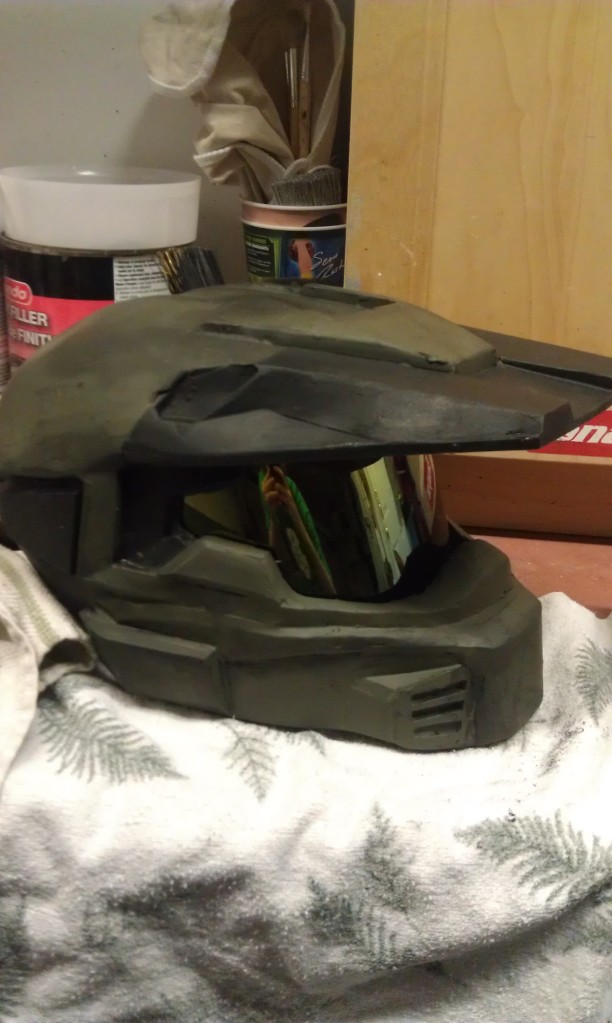
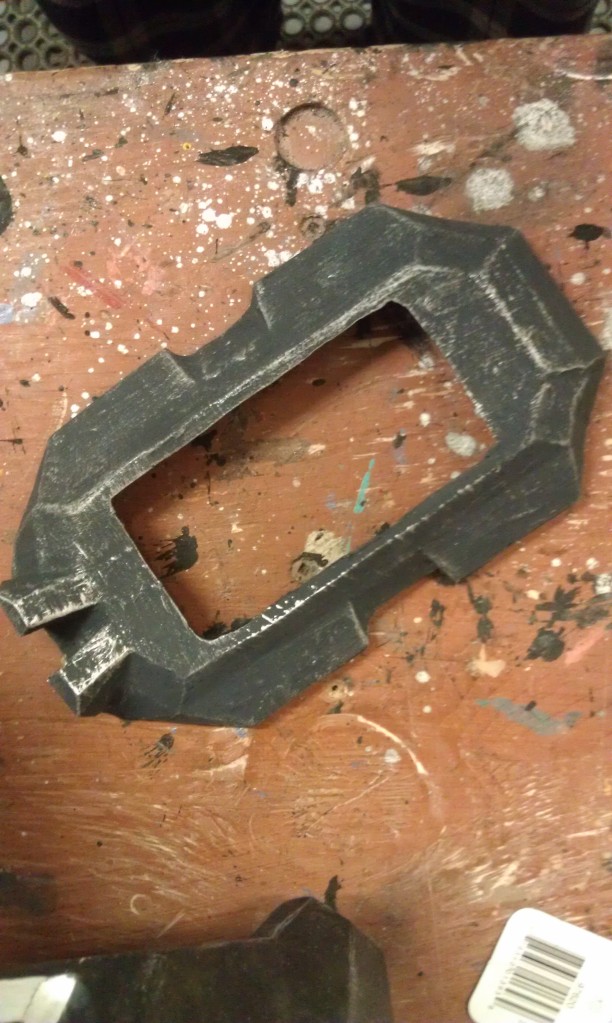
This is the first completed step in finishing my costume. I downloaded and used a program called "Pepakura Viewer" and "Pepakura Designer". I downloaded files I found on the 405th.com data base, opened them in Pepakura Designer and printed it on 110lb card stock. After printing, I cut each piece, score each fold with a blue pen for a "mountain fold" which indicates that the line will be folded up and used a red pen for scoring "valley folds" for downward folds. I used high temperature hot glue to piece everything together. Repeat for every piece.


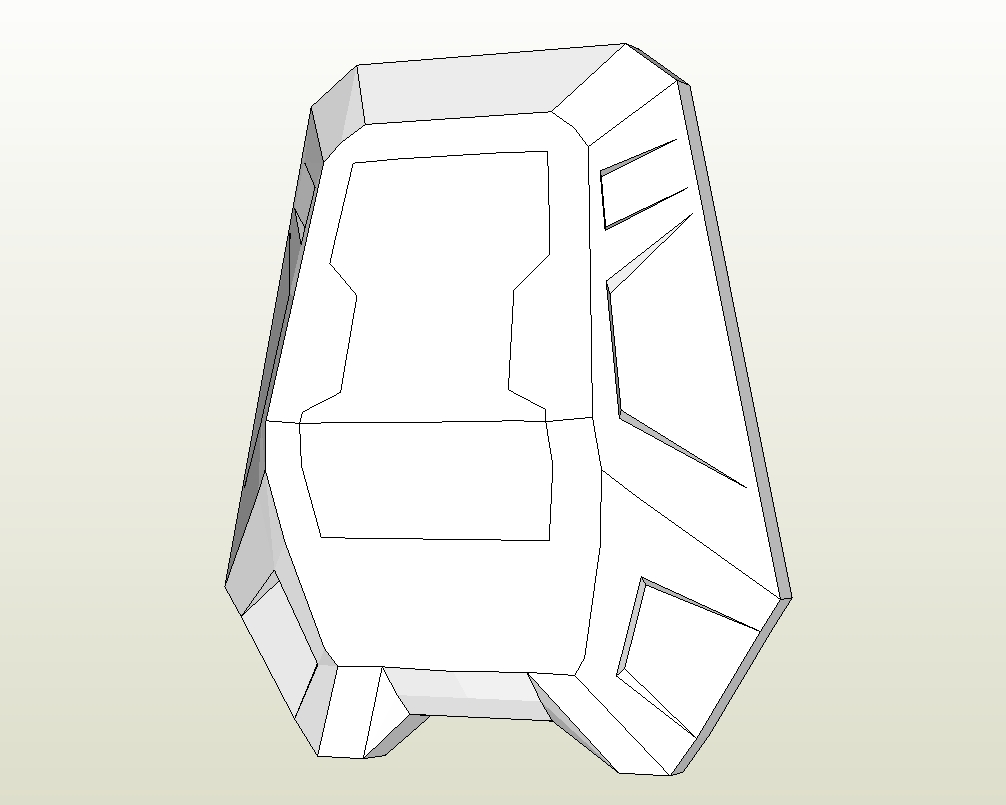


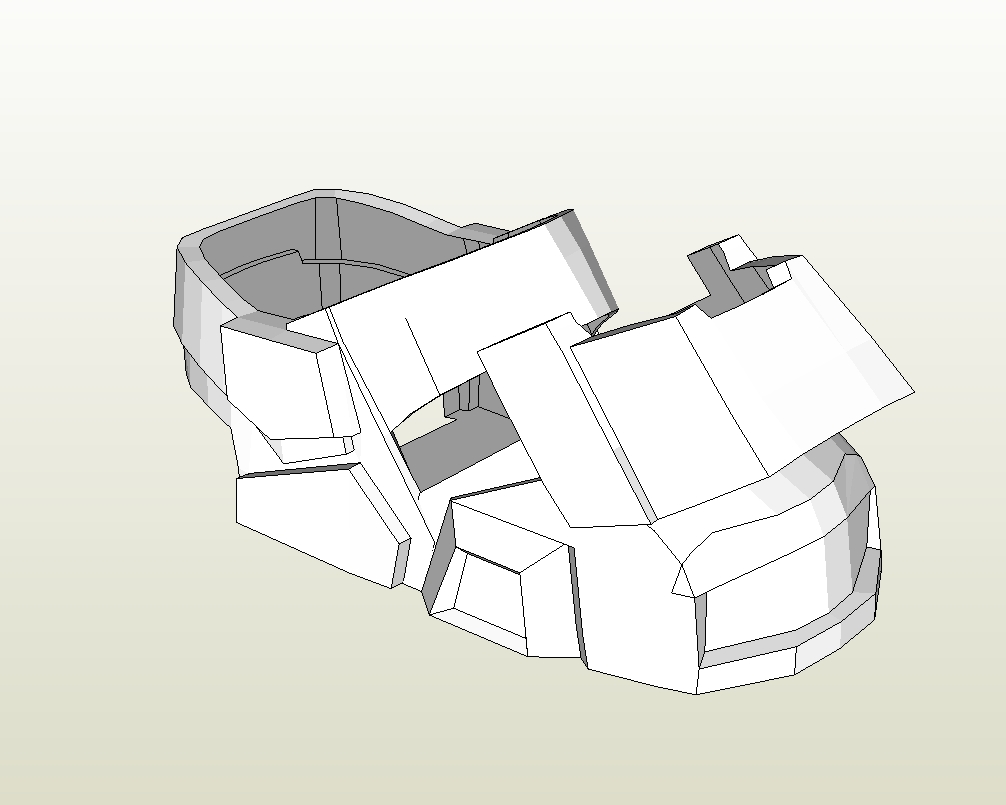


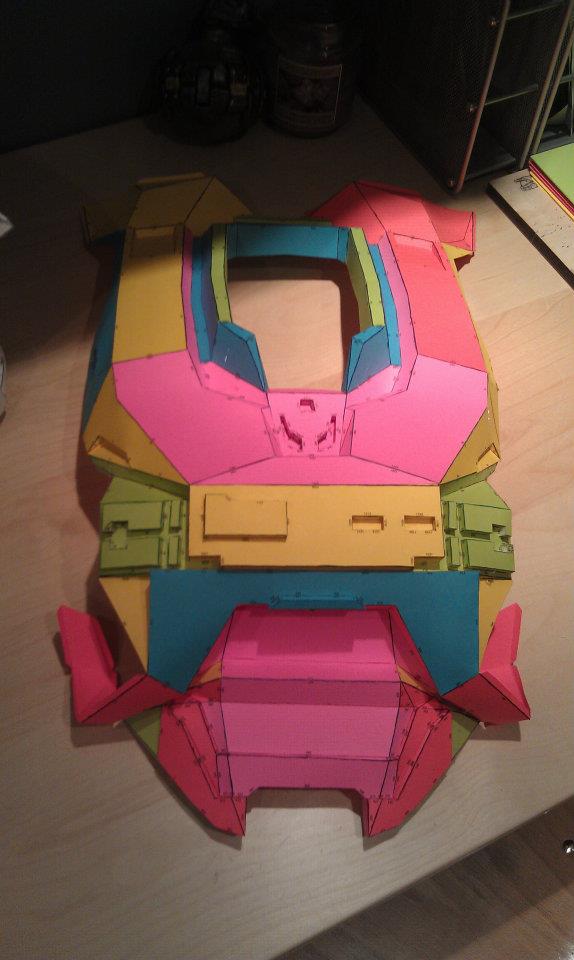
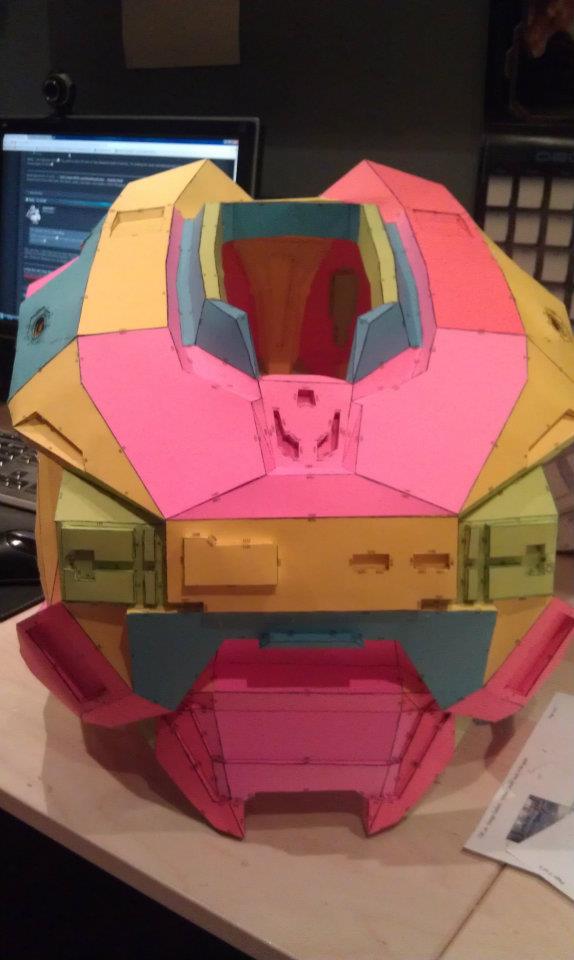
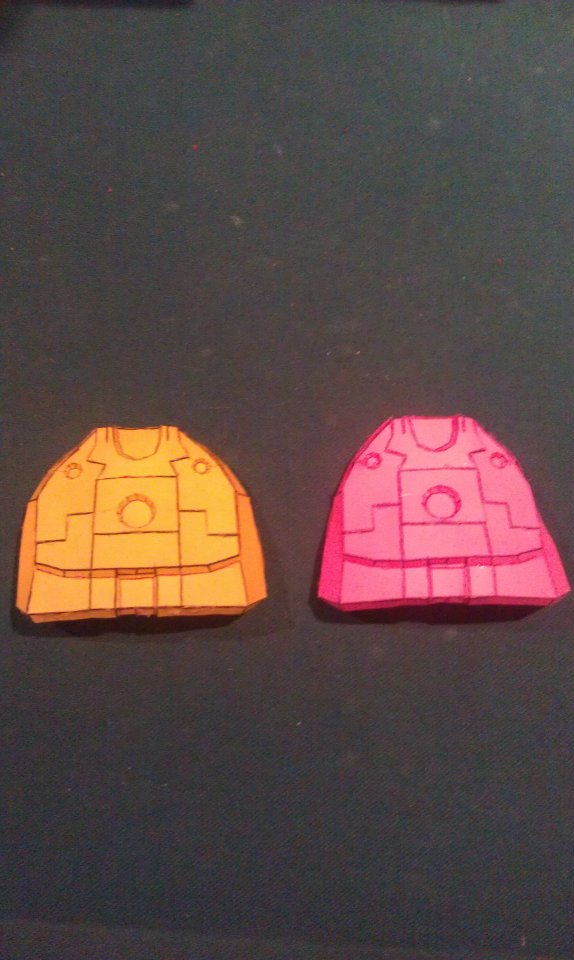
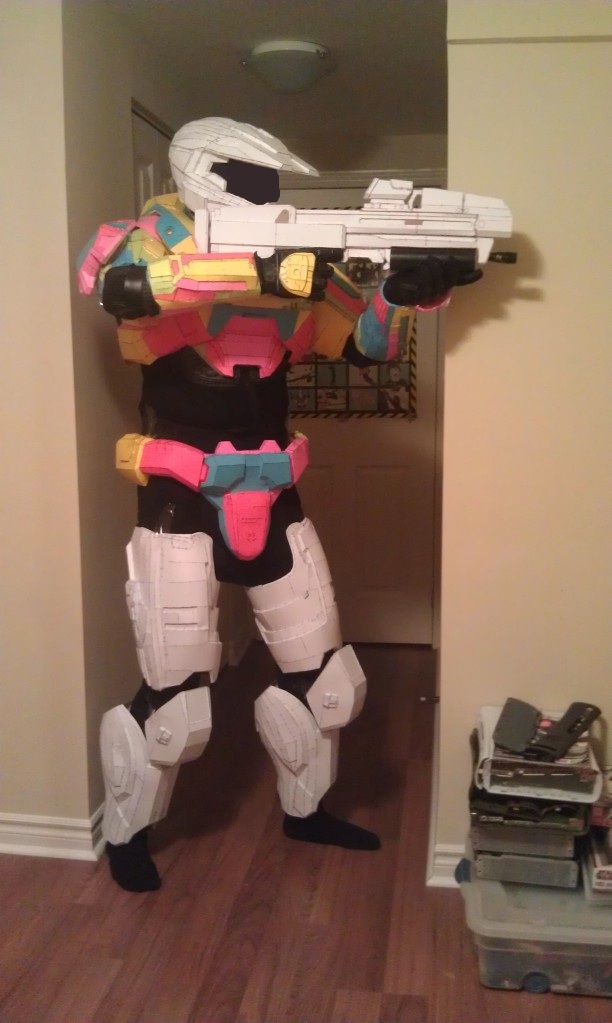
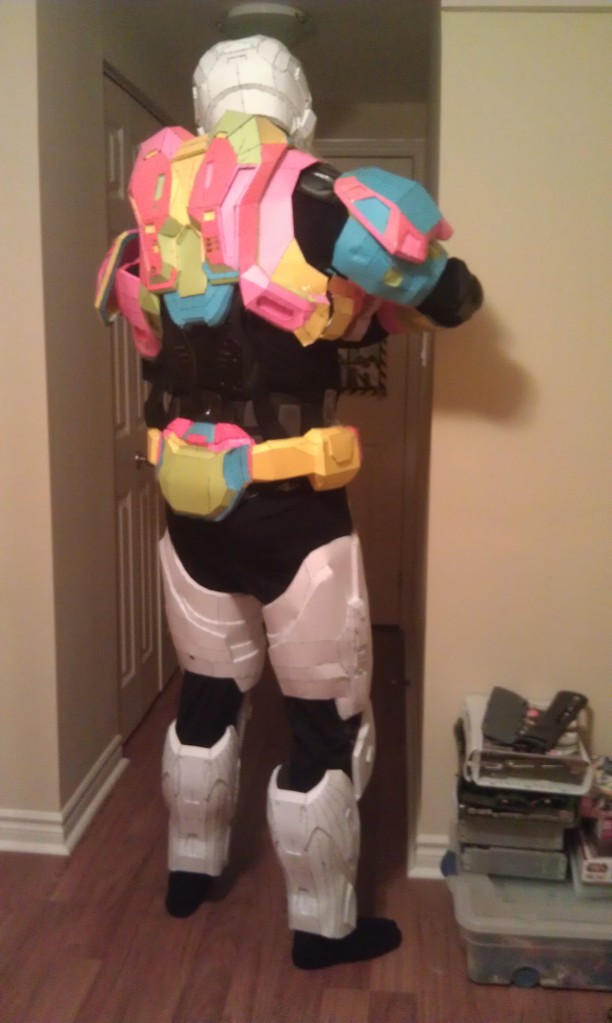
After gathering the required files, I started to print them out onto 110 lb Card stock. These parts are all cut, scored, folded and glued by hand. I wanted to get started as soon as possible, I still had some left over colorful card stock left over so I decided to have fun and do a rainbow chief.


Fiberglass and Bondo
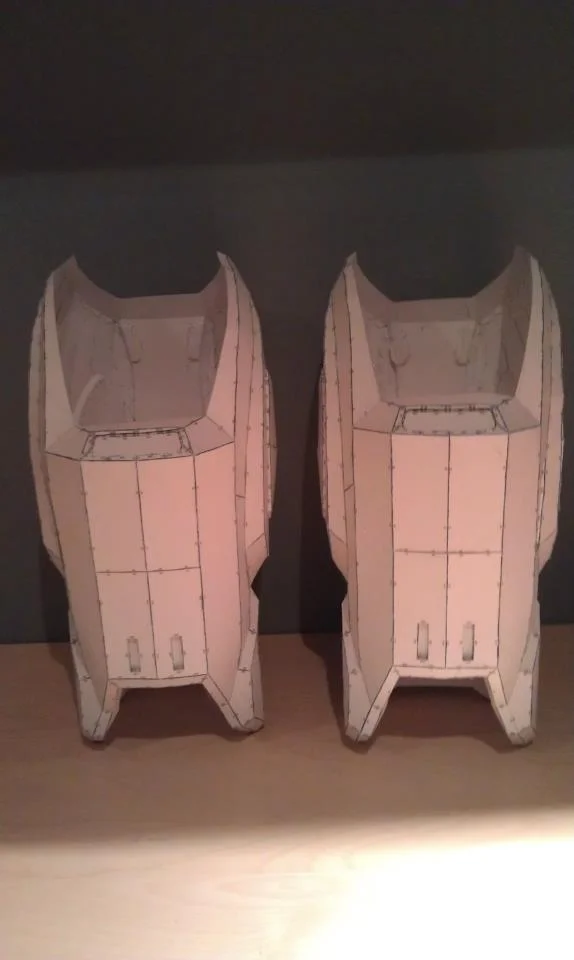
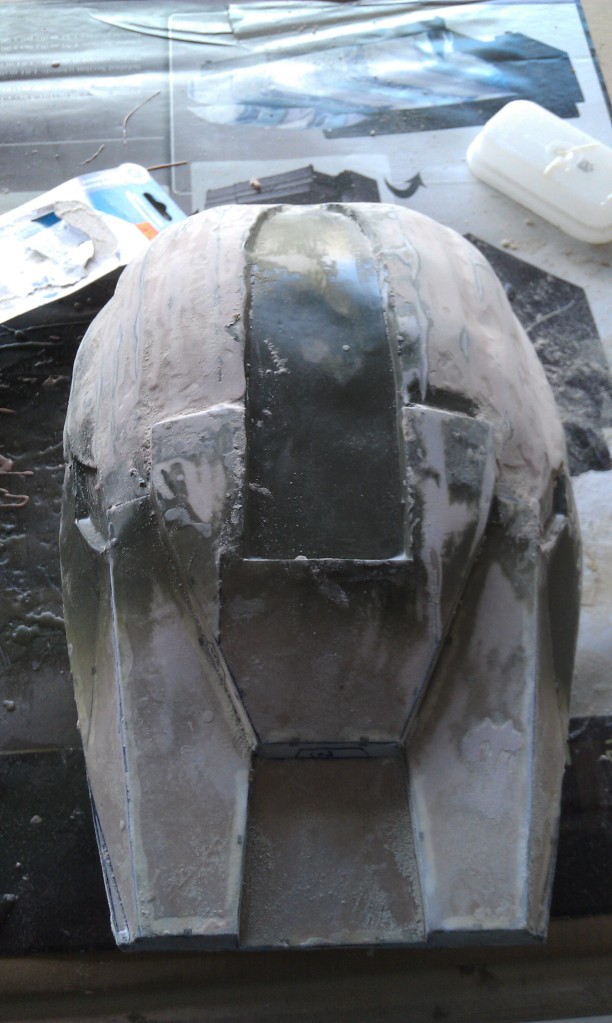
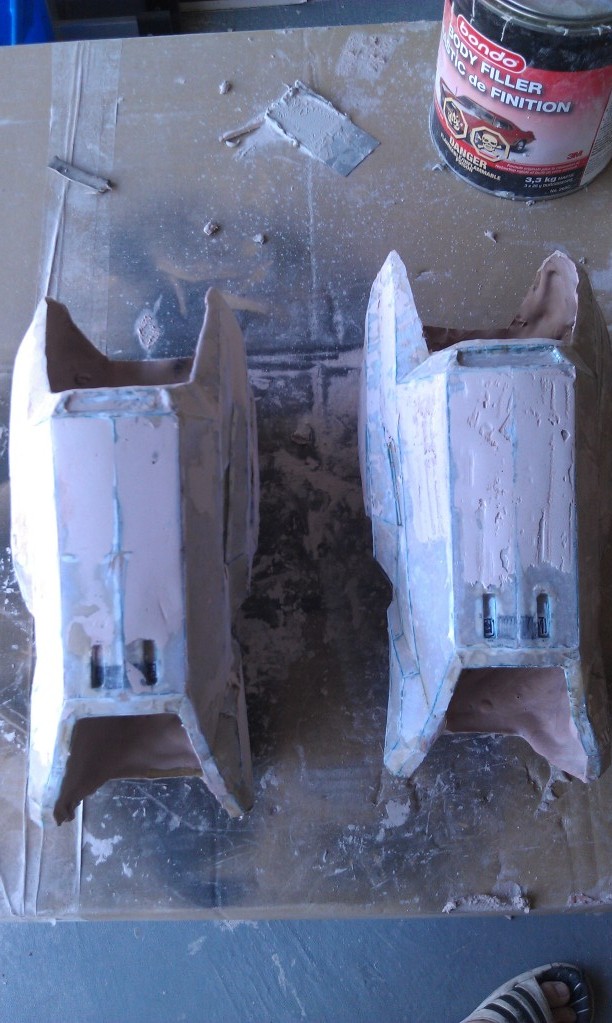
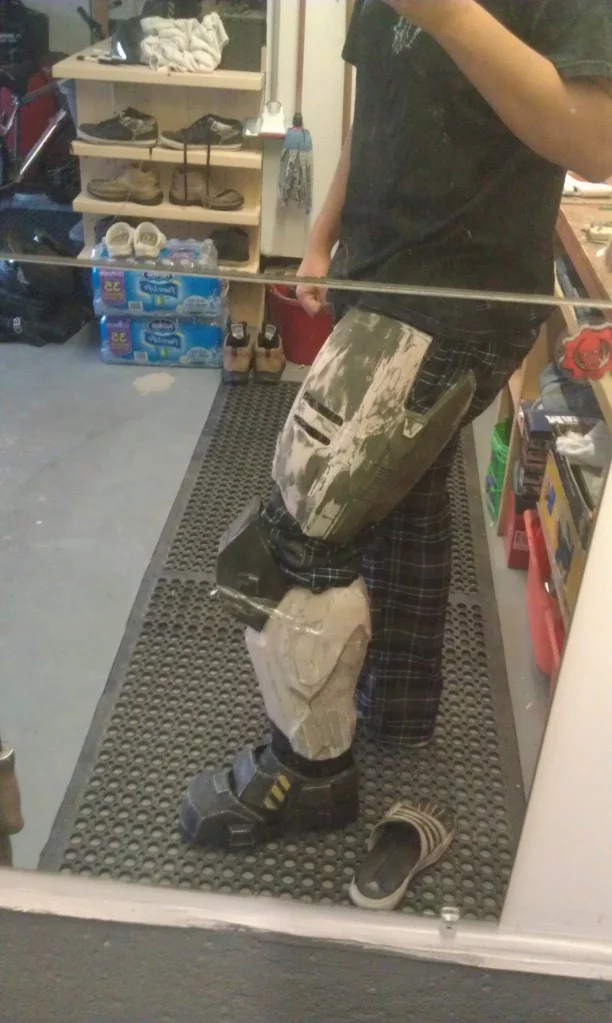
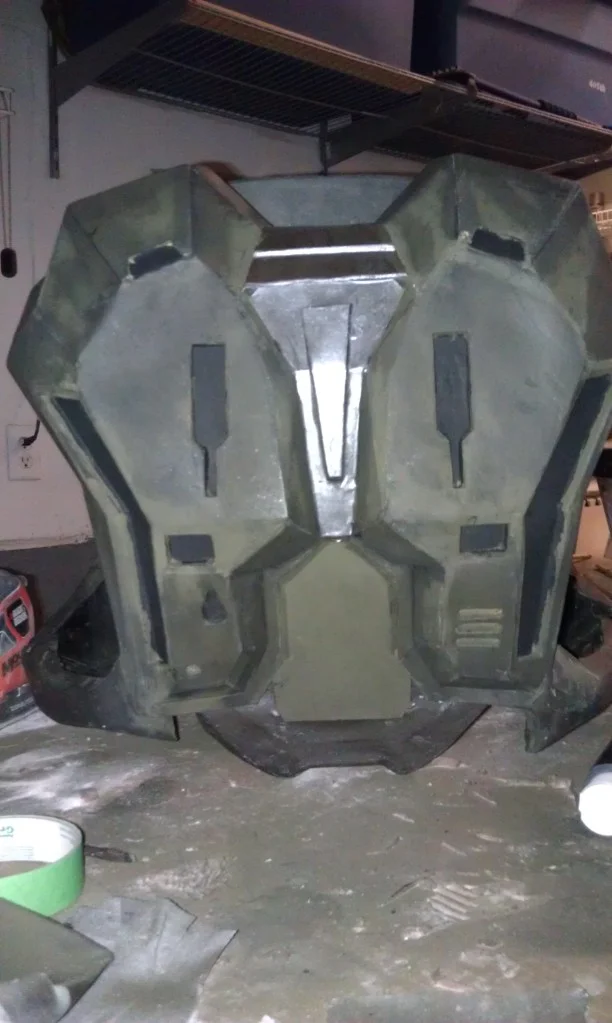
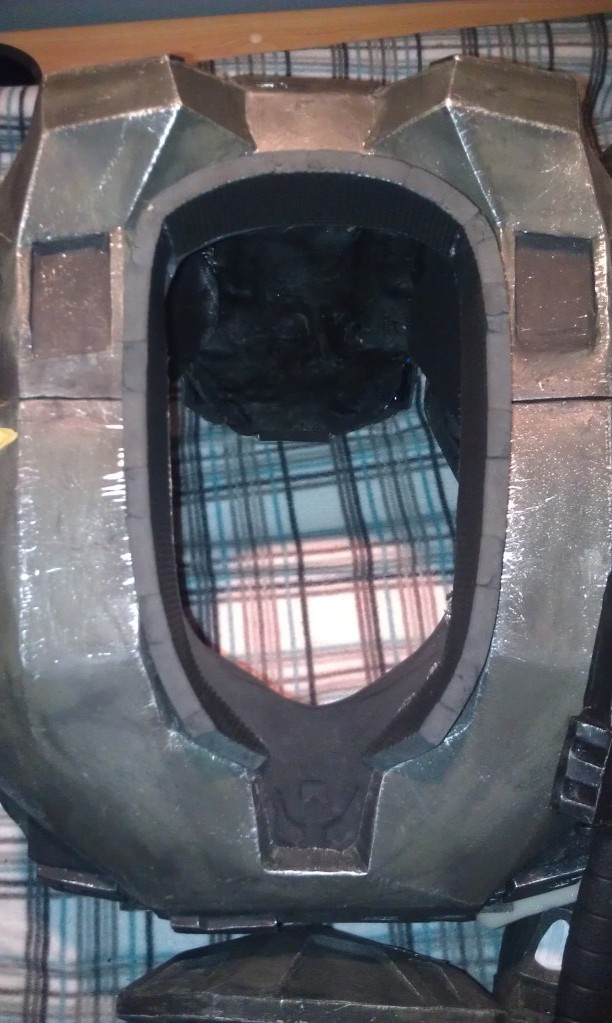
After doing a test fit of all the pieces, I was happy with the scaling and fit of the armor. The next step was so start reinforcing the card stock. I do this by using a fiberglass resin and using a paintbrush to coat the inside and outside with it. After both layers have dried, then I use the same fiberglass resin with fiberglass matte/cloth. Combining the two creates a very strong and light reinforcement to the inside of the costume piece. The fiber glassing is done only to the inside so keep the exterior details.
Once the fiber glassing process is done and dry, you can start applying thin coats of Bondo body filler to the outside of the piece. You do not have to coat every square inch with Bondo because this will create more work and potentially take away some details. I also applied a coat of a mixture called "Rondo". Rondo is a mixture that combines both the Bondo body filler "paste" and fiber glass resin and creates a runny Bondo consistency. I have heard that many compare it to chocolate pudding consistency. This allows the Rondo to be slushed around the inside and cover any sharp fiberglass parts.


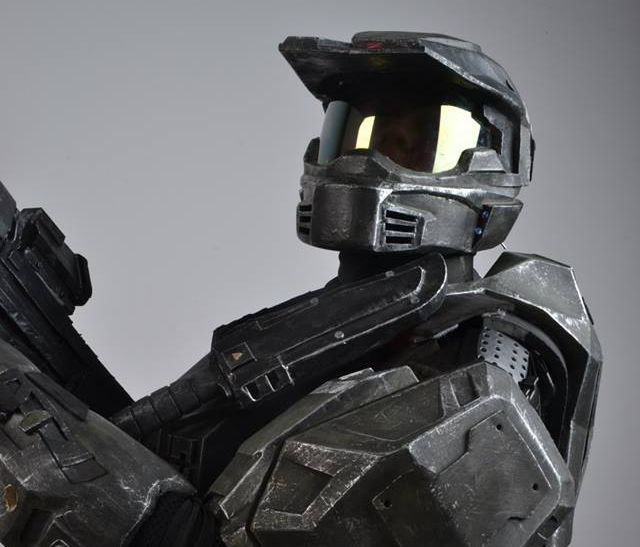
Paint & Finishing Touches
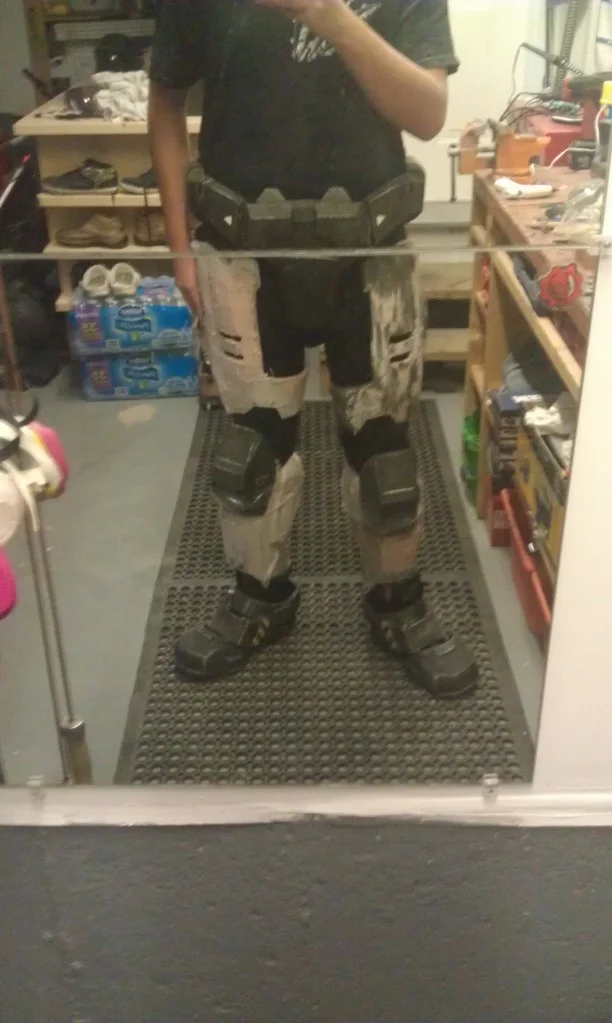
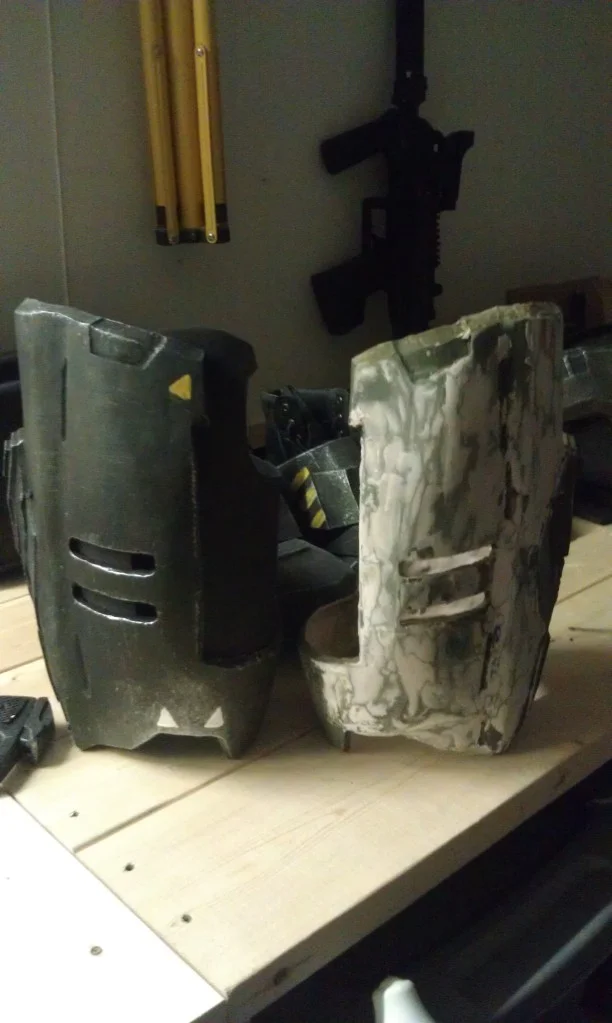
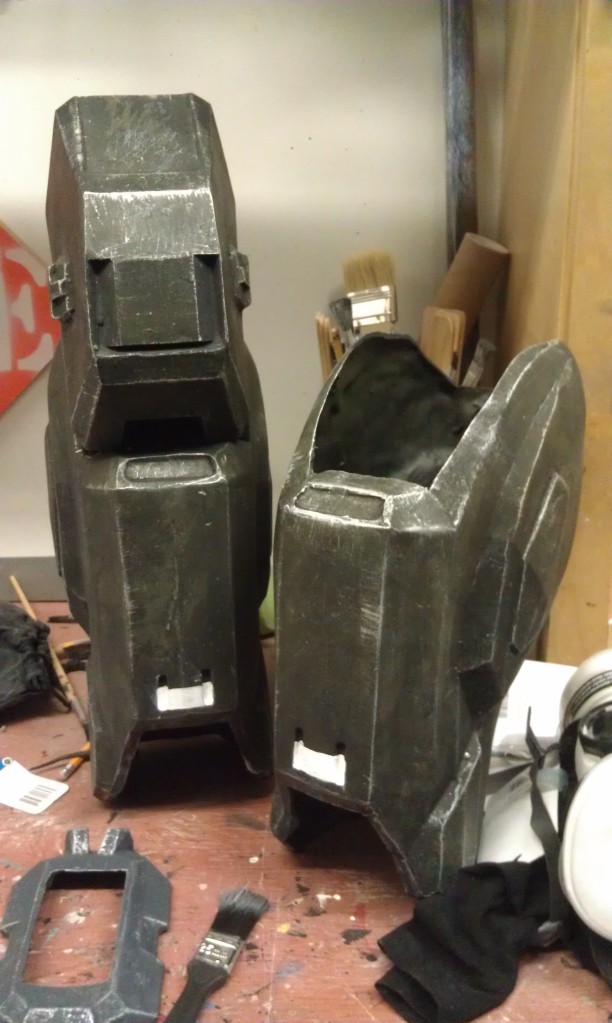
After sanding down the Bondo and spot putty. Sand able primer and a base coat of matte olive green is sprayed on the pieces. The olive green is too bright and "clean" for a suit of power armor, so I used a variety of techniques to achieve a battle worn look.
To achieve this, I used a "black wash" which is a combination of black acrylic paint and water. This is brushed onto all of the crevices of the armor and the surrounding area is wiped away immediately to allow only the paint in the crevice to dry. This technique is used to outline high and low pieces and to simulate where dirt would stay and get stuck.
This effect darkens the overall paint job so to highlight areas that stick out, I used a technique called "dry brushing". This is where you take a dry paint brush and spray a metallic silver/aluminum paint to the end and gently brush it on the edges and corners of the armor. The individual brush hairs will give a detailed scratch effect and give the effect that the top coat was uncovered to expose the metal underneath.
Details on the costume were painted using white, red or yellow acrylic paints while the warning logo's were printed on clear coated stickers.
To finish off the paint job, a semi-matte clear coat was sprayed to protect the paint job from minor scratches and the elements.


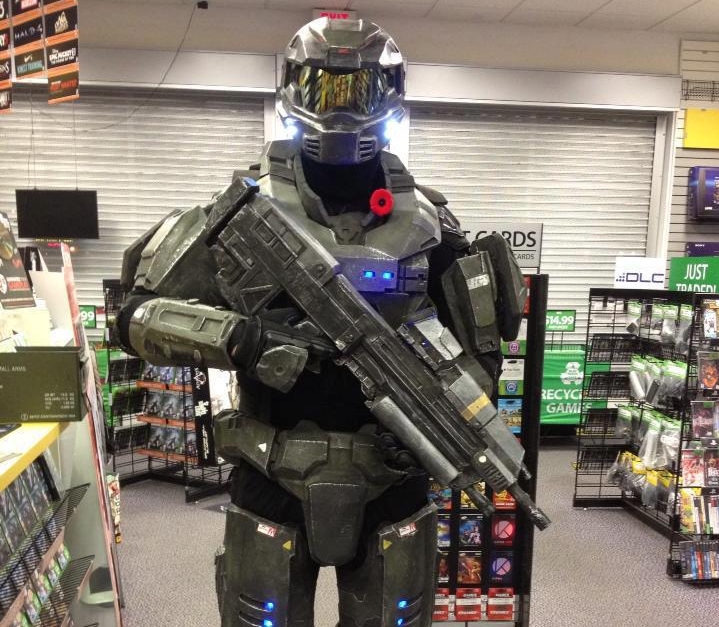
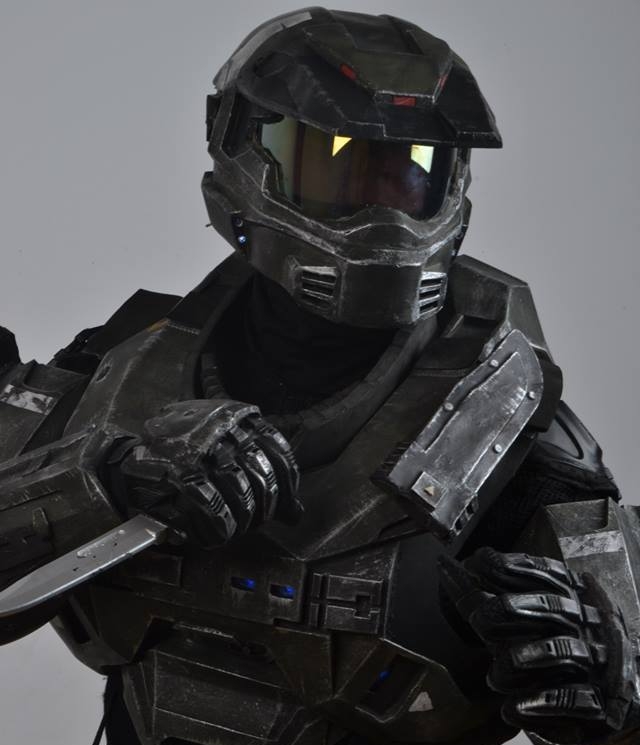
Lighting & Strapping
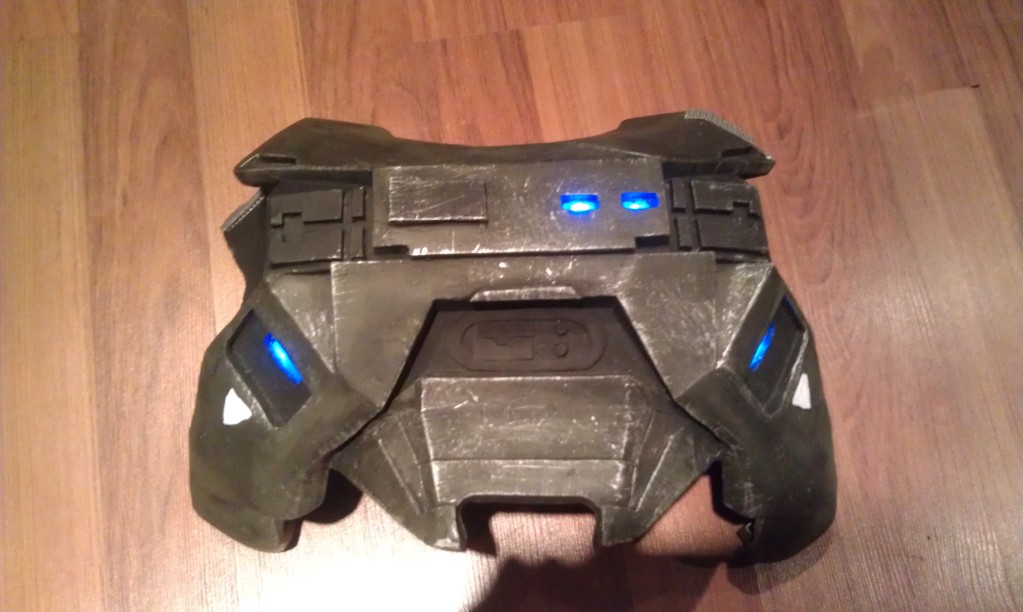
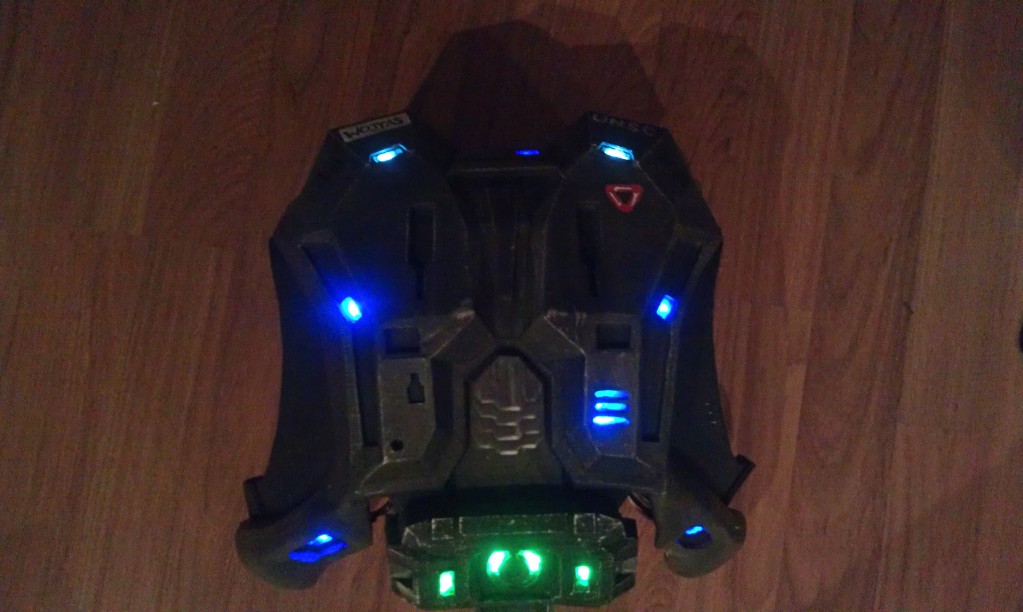
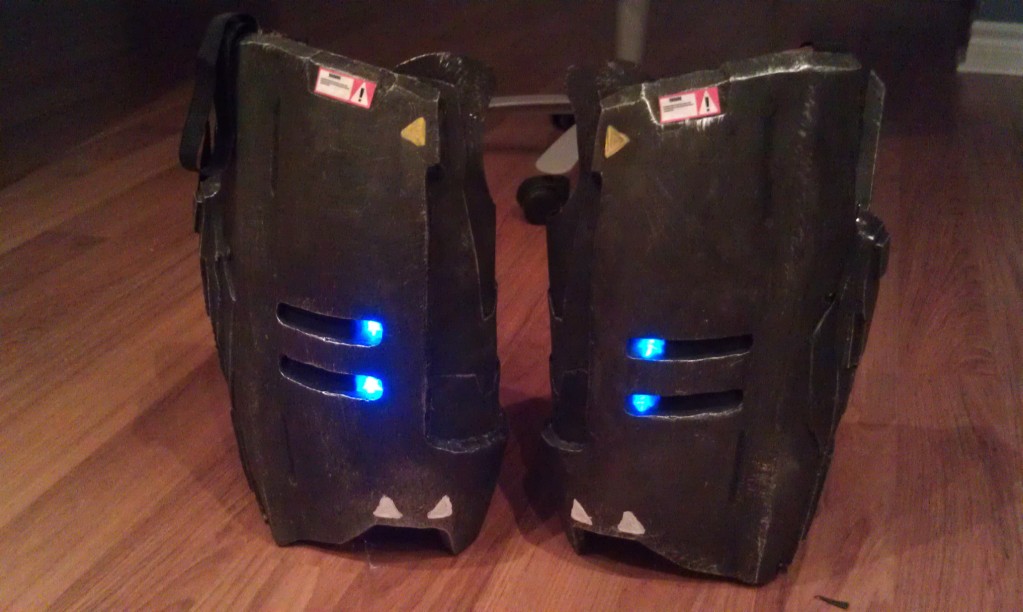
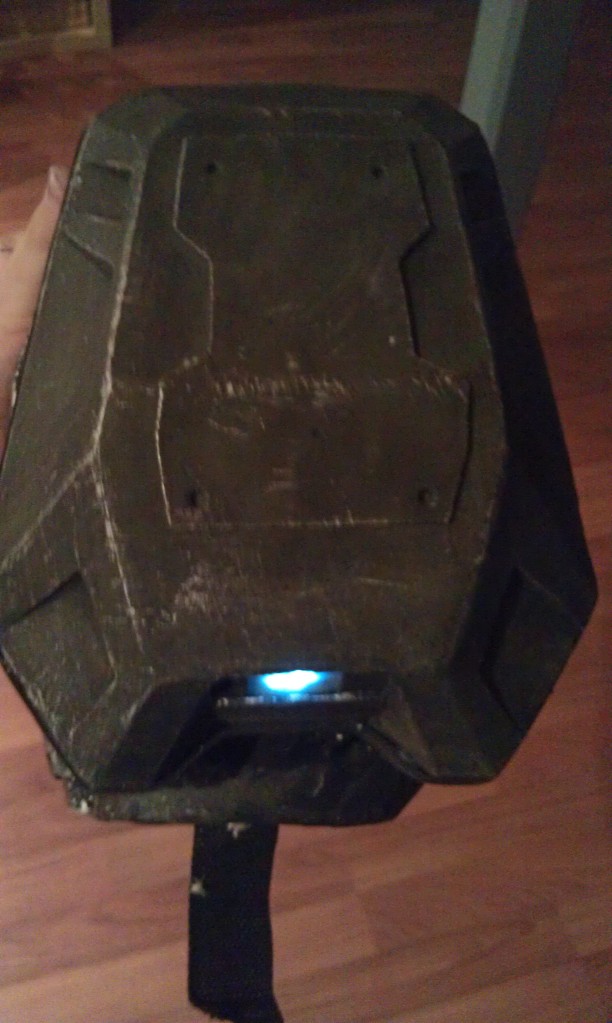
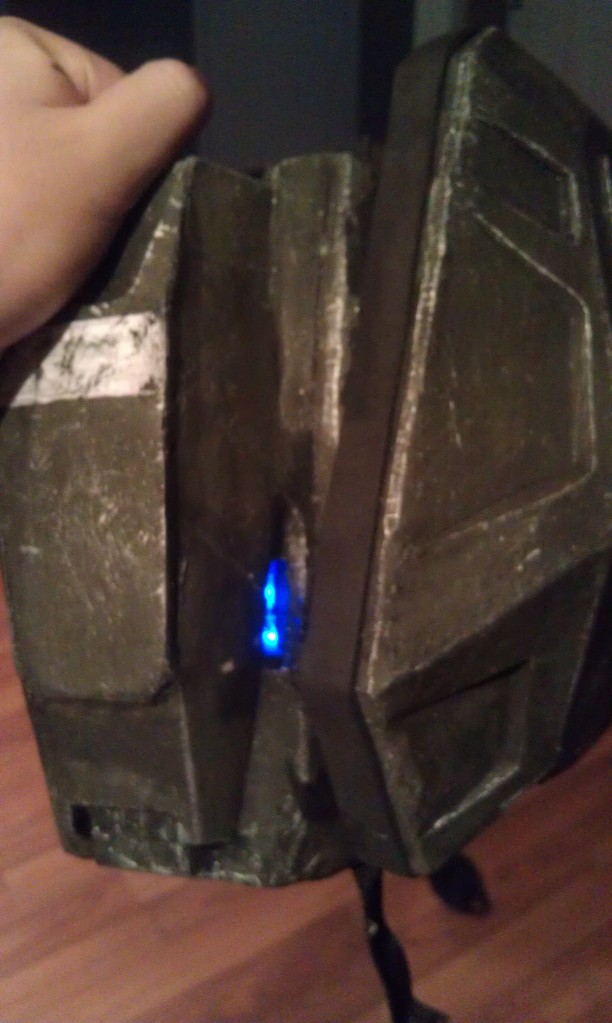
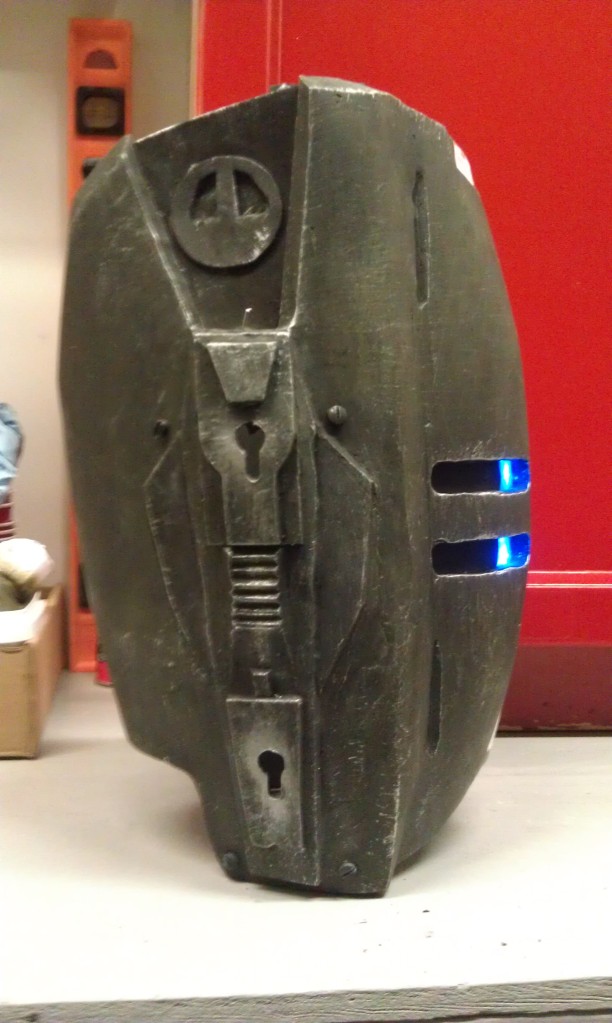
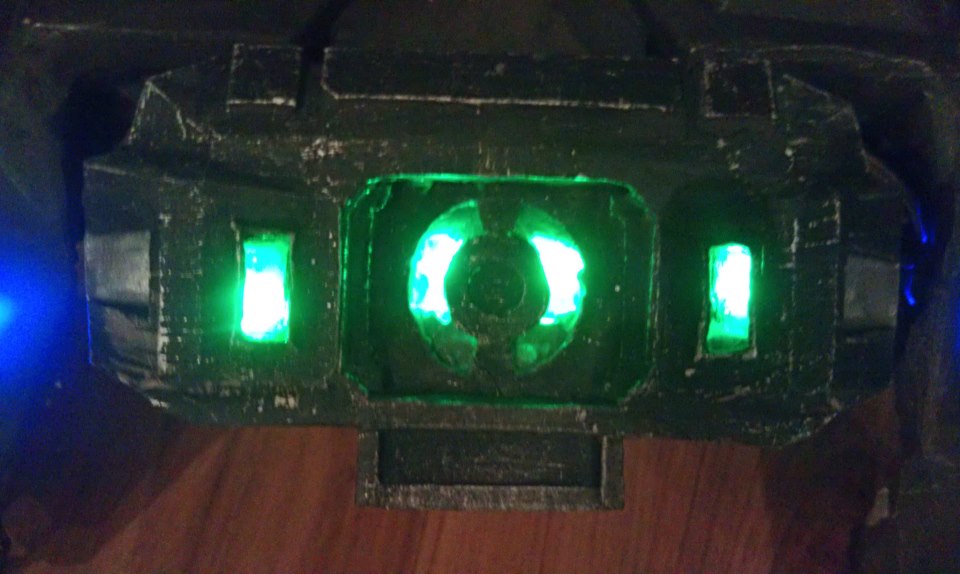
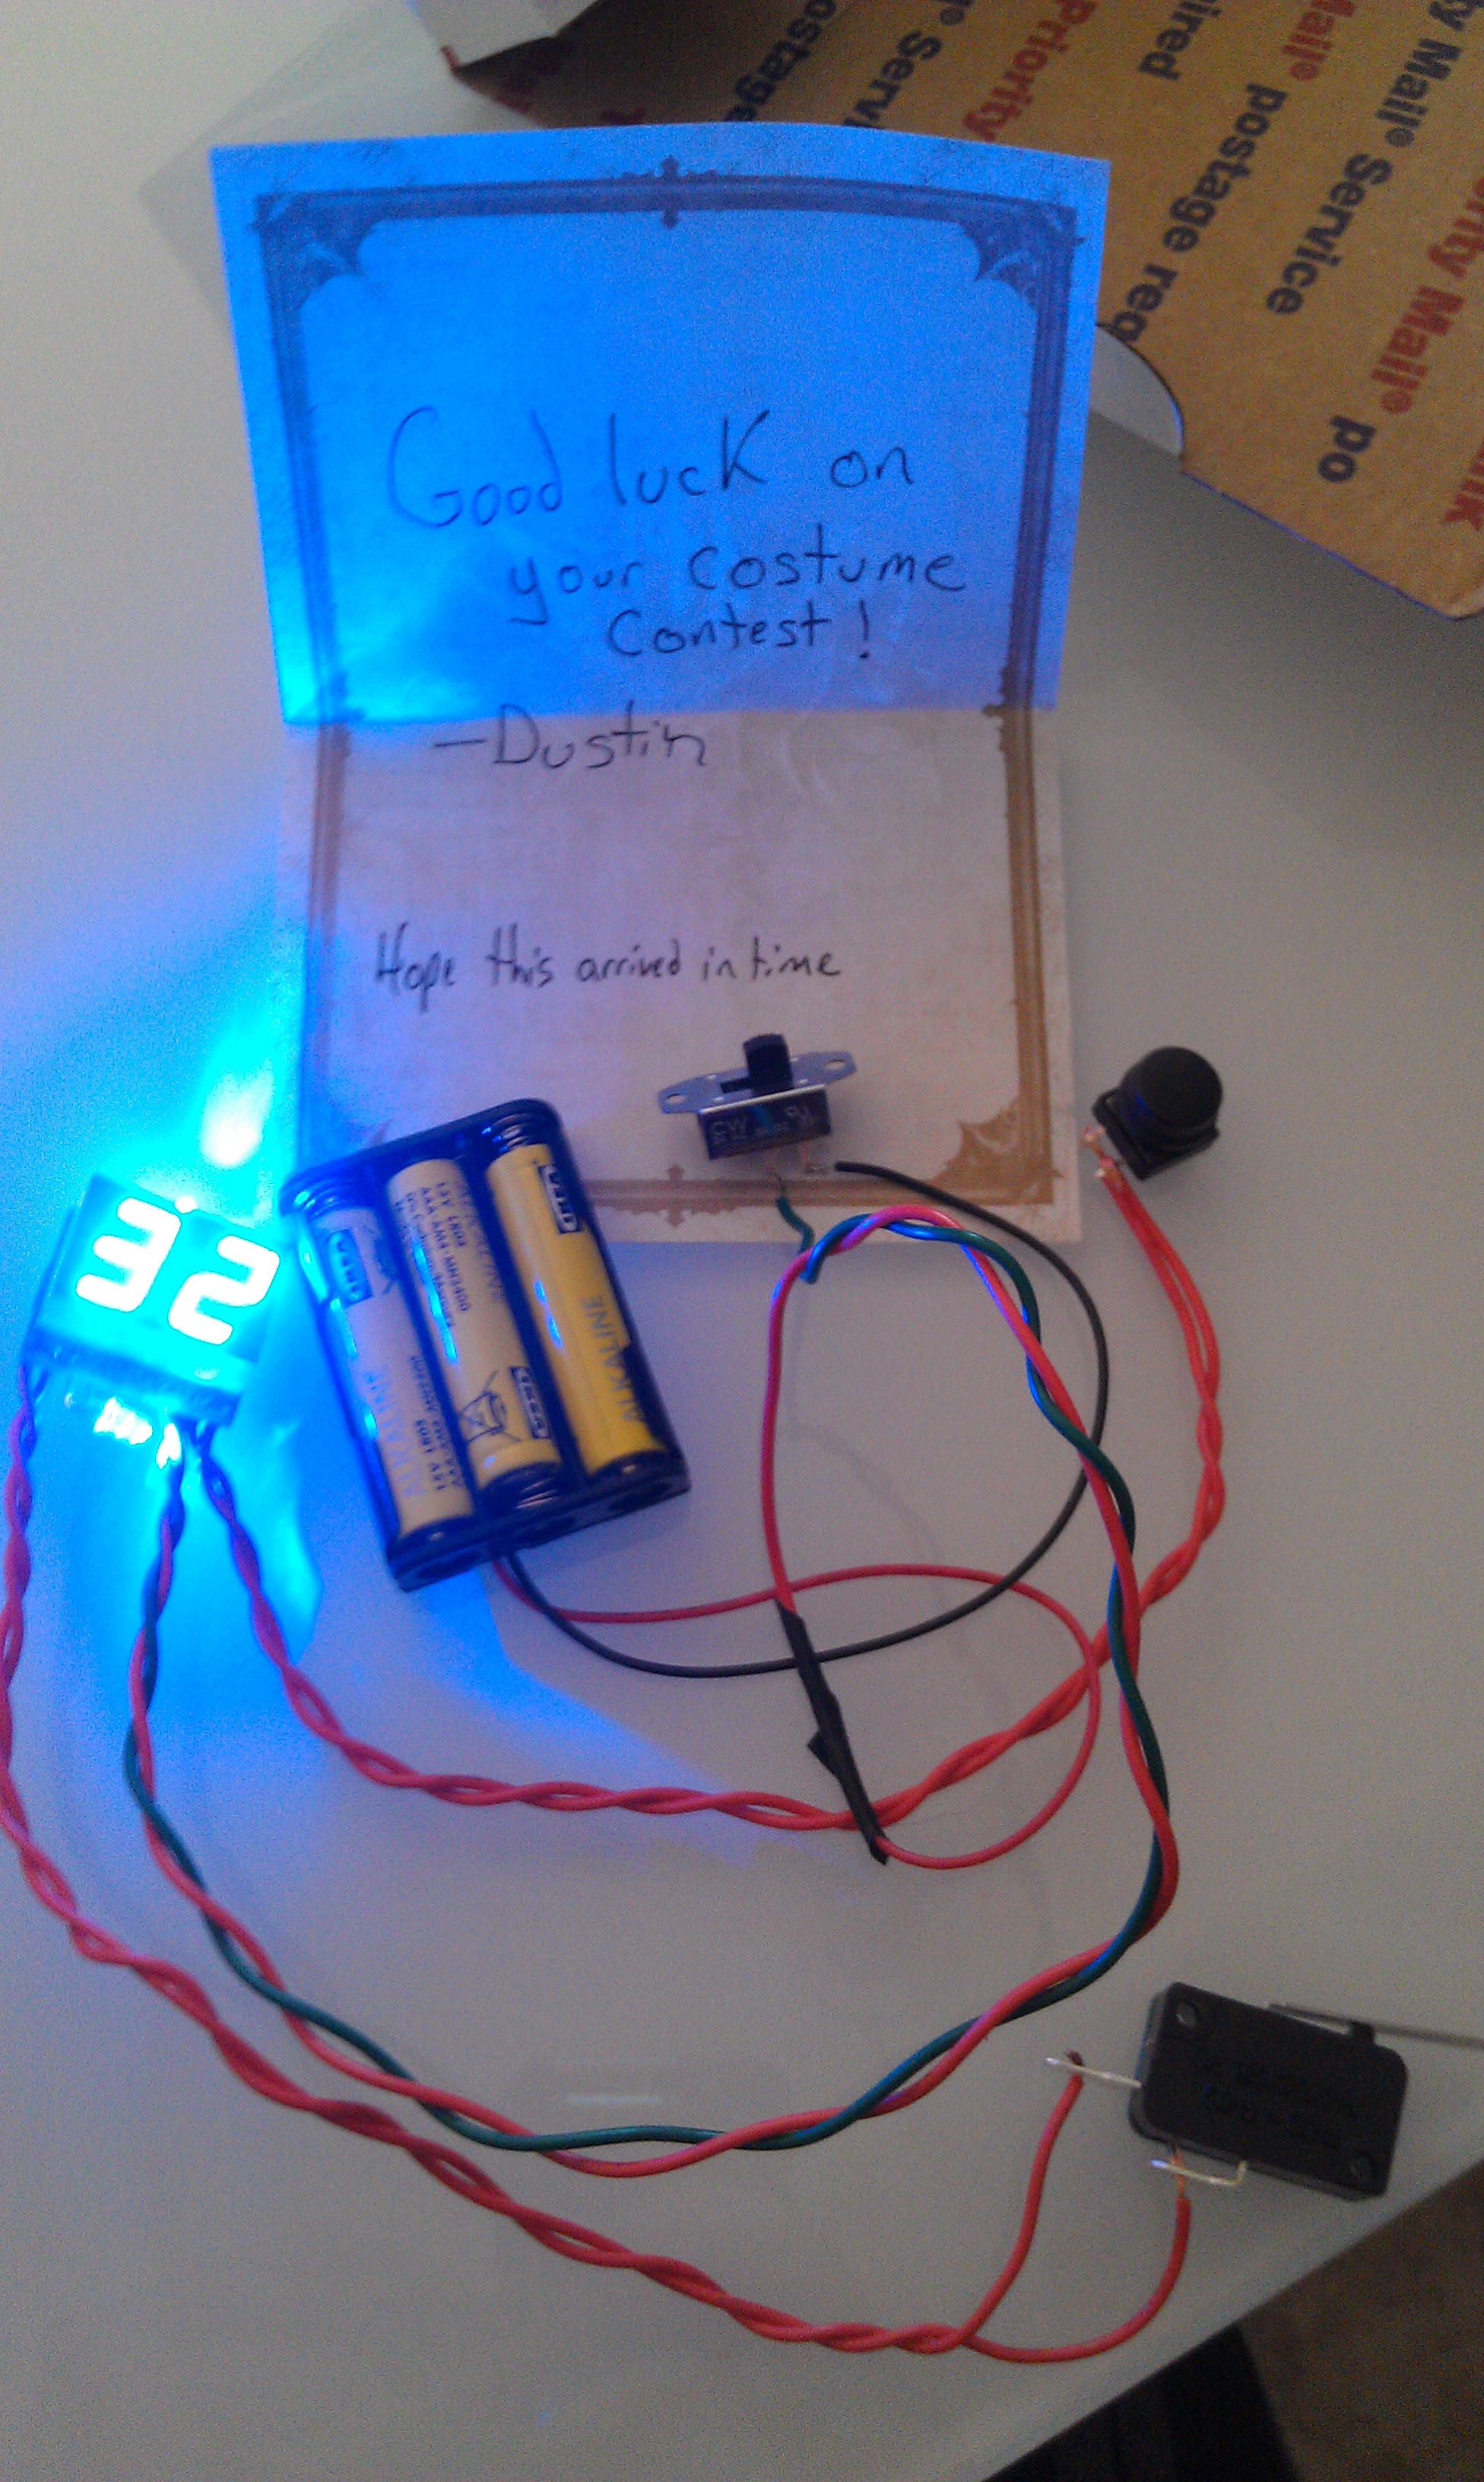
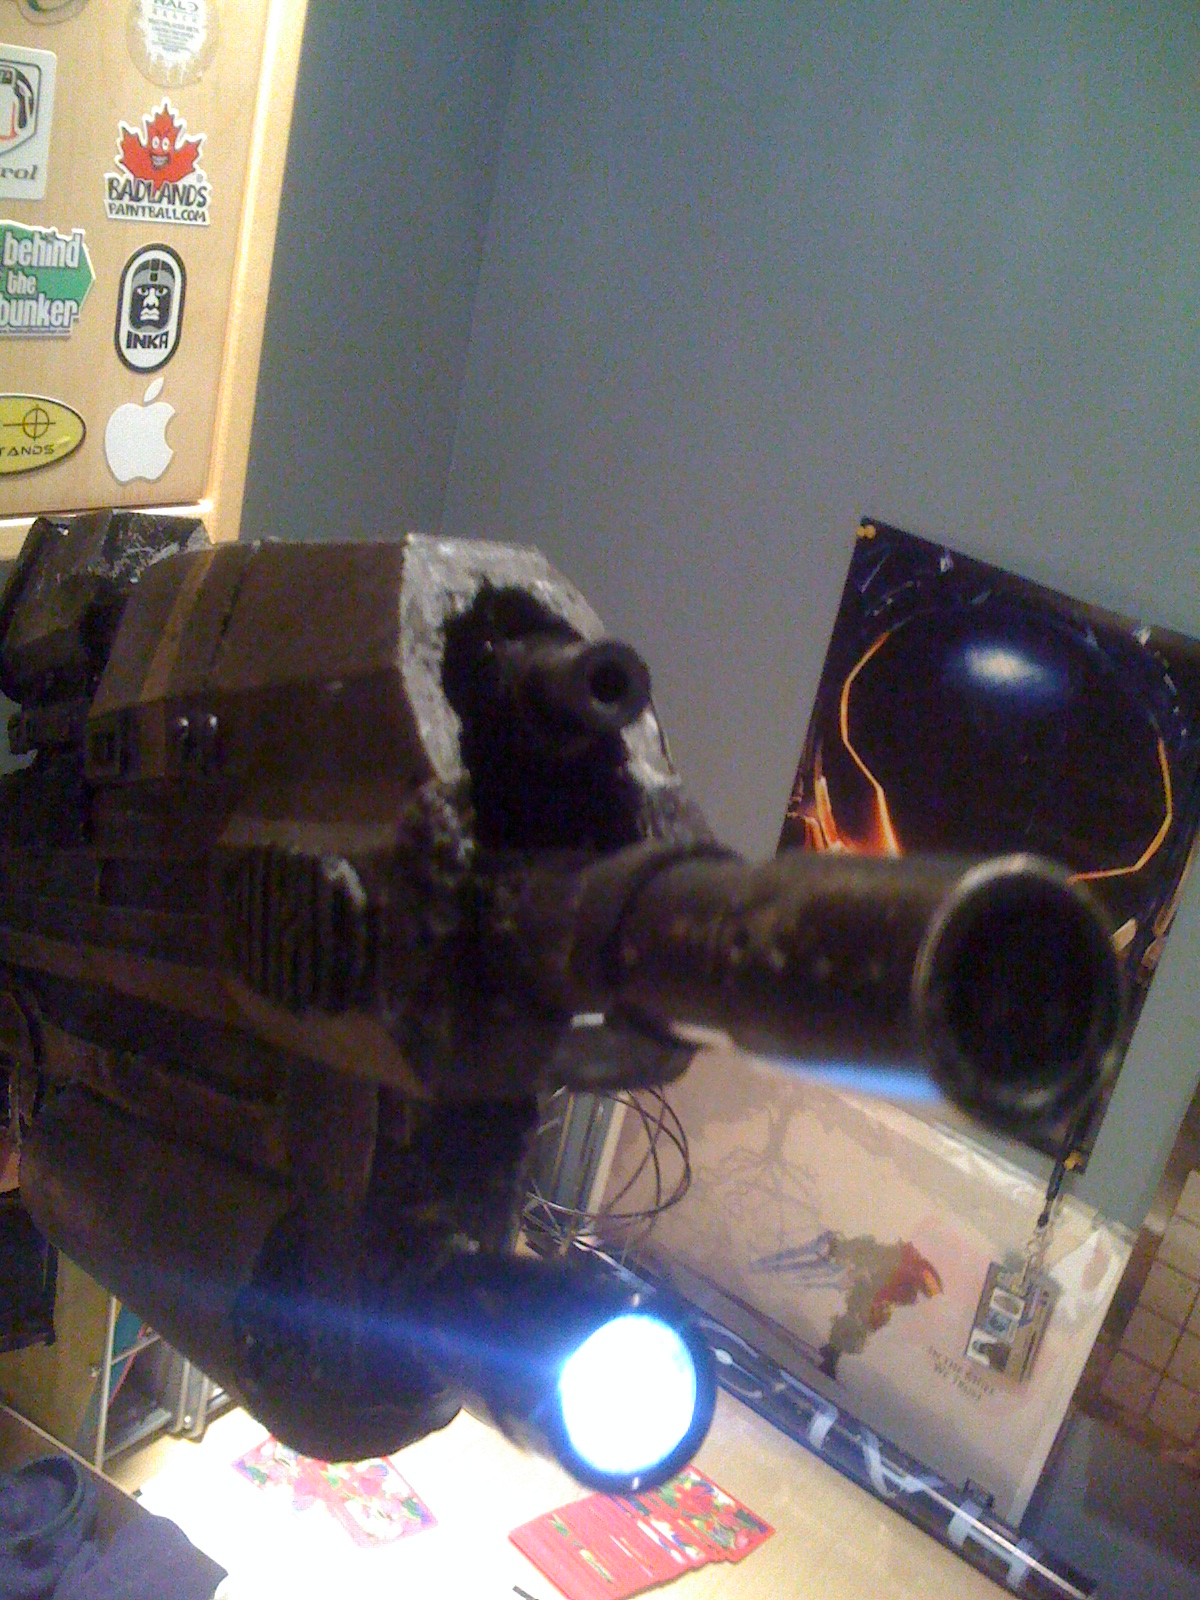
With the armour pieces finished, the next step is to add lights! I used a very basic circuit with includes a maximum of 2 LED's, an On/Off switch and a 9 Volt battery with connector. I stuck with a 2 LED maximum to allow the most amount of run time off of one battery. I decided on a 9 Volt battery because they were easy to find and can be bought for pretty cheap. I added one of these circuits to the thighs, shoulder+bicep and a few to the chest/torso and helmet.
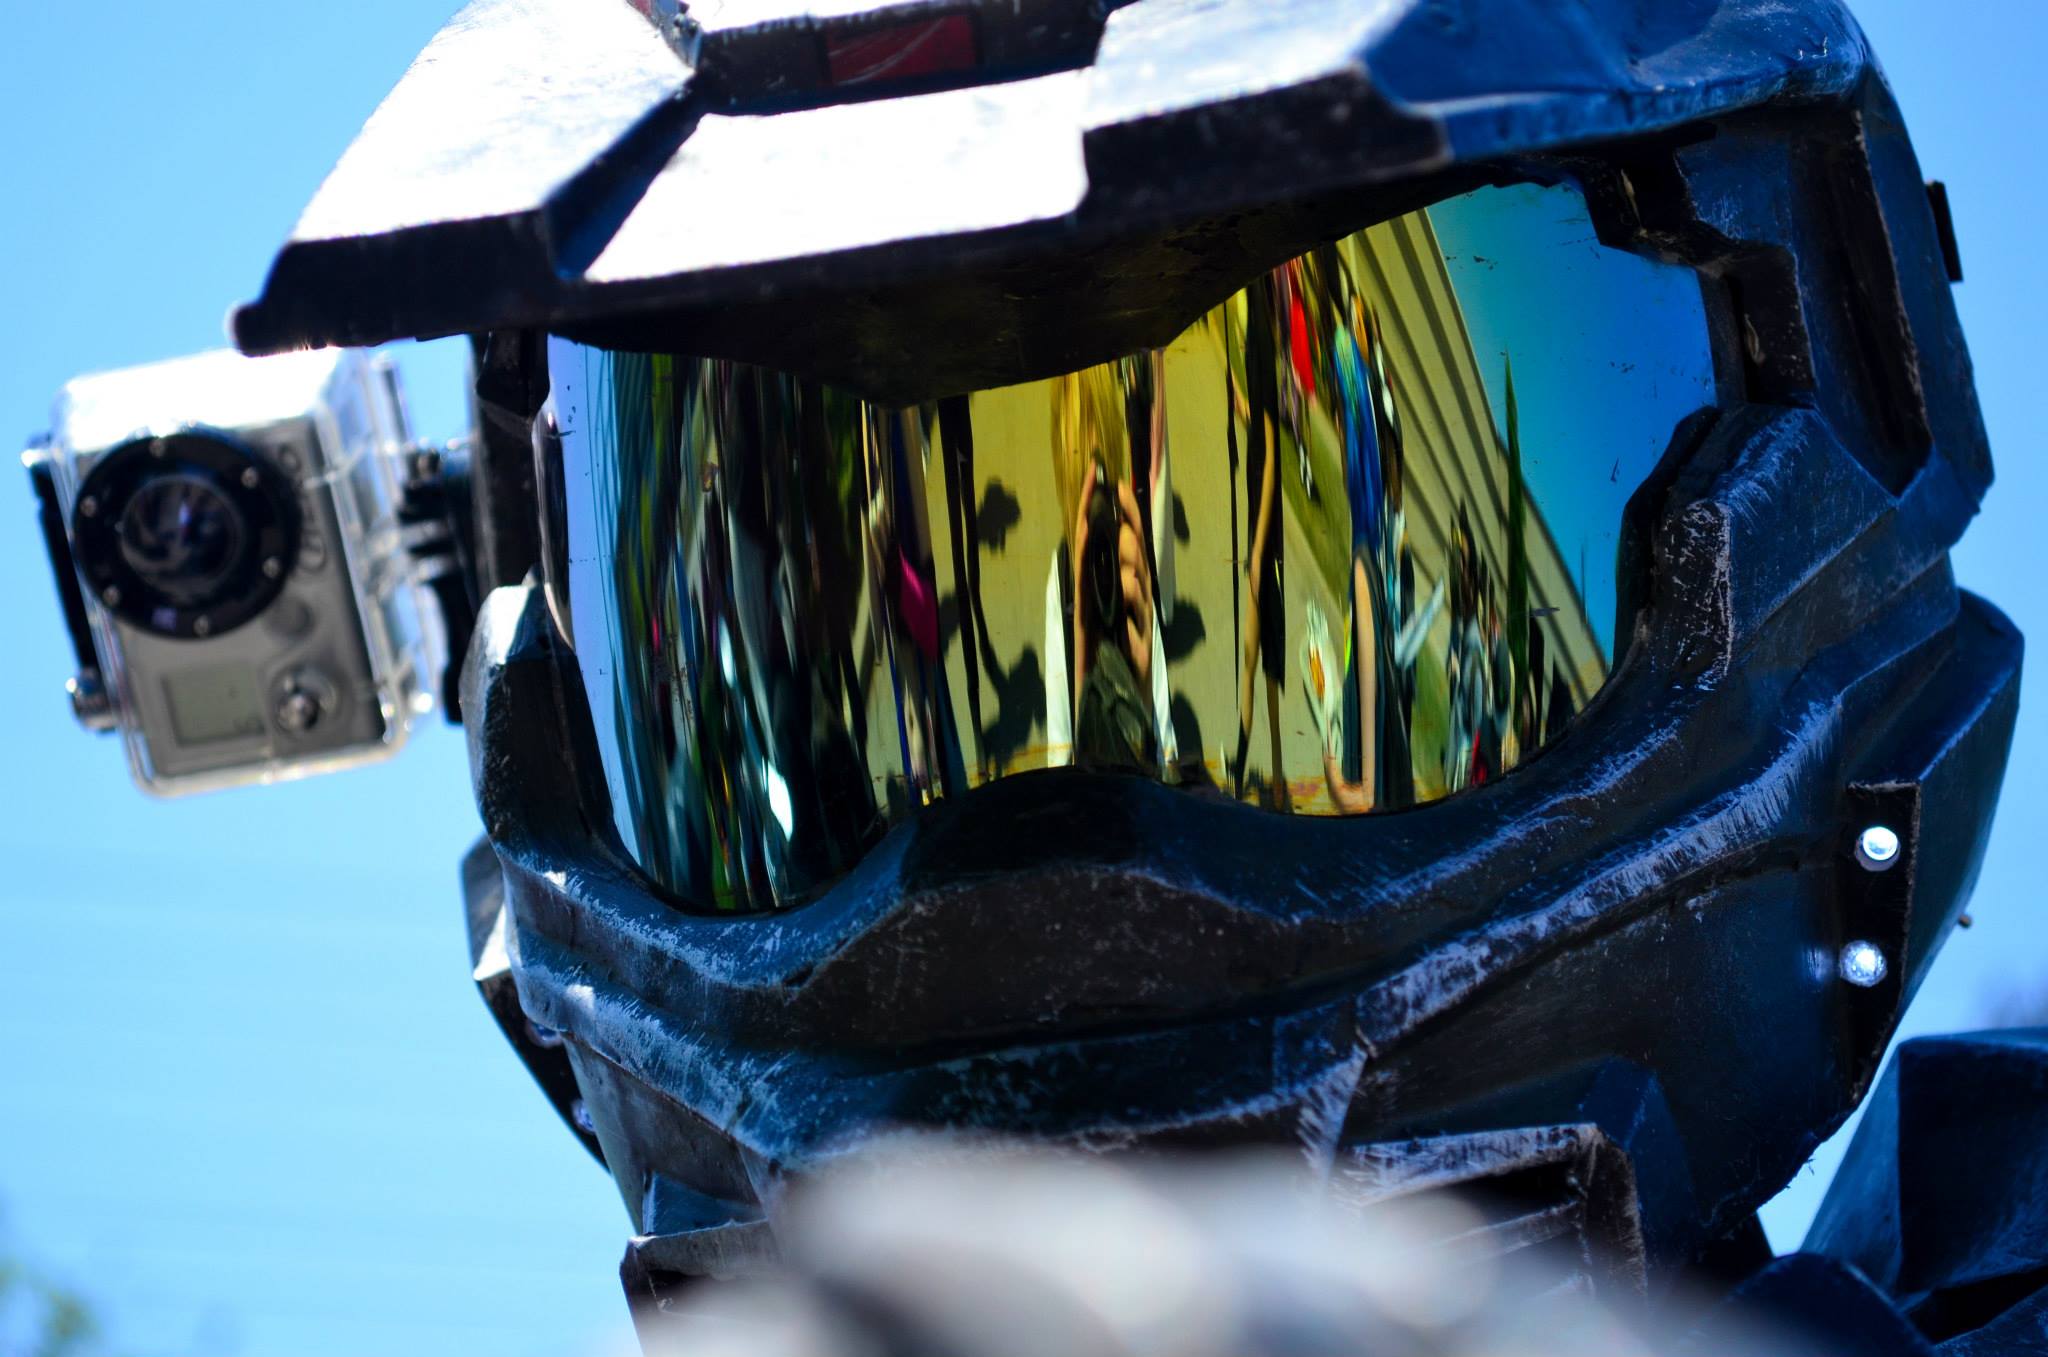
Additional electronics in the costume include 2 x 9 Volt fans for the helmet, portable microphone amplifier, iPod touch to the forearm for music which is connected to the amplifier. The helmet also includes a GoPro attachment to record conventions and events at a first person view.
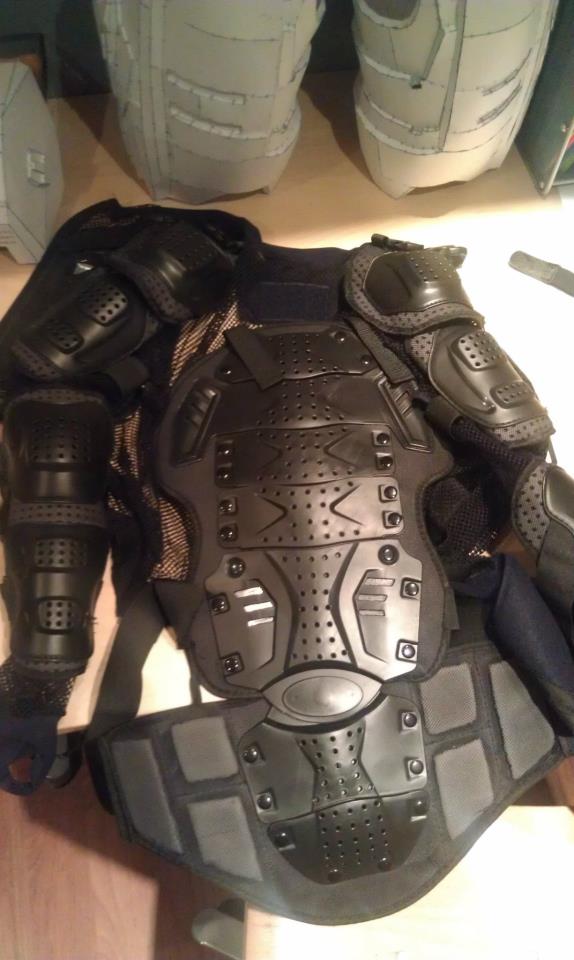
For strapping, I used a motorcycle jacket as a base to start from. I sewed parachute buckles with nylon straps to attach various parts as well as nylon loops.

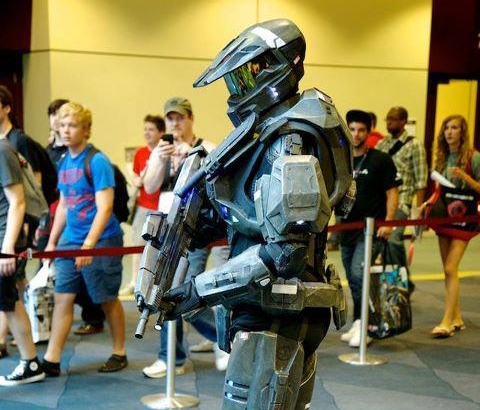
Done!
I believe that covers my costume build. I included a slideshow video of my build on Youtube. If there is anything I left out or if you have any questions, please do not hesitate to ask!